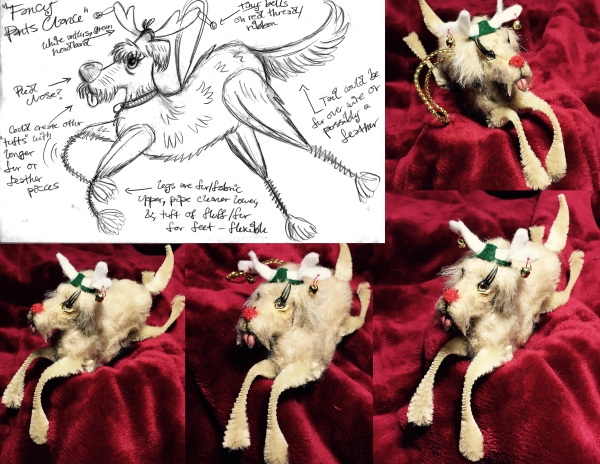
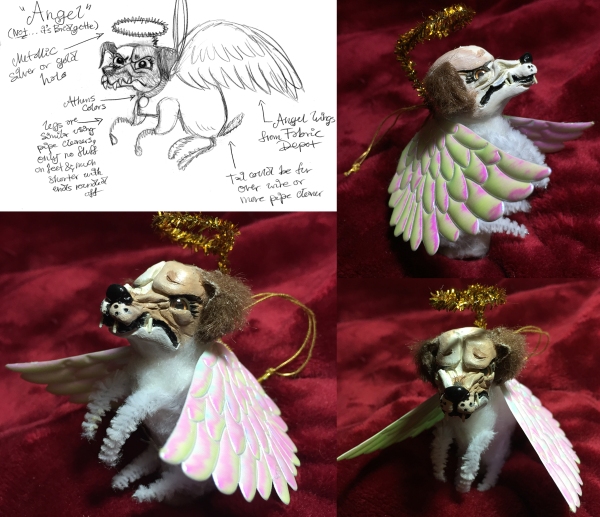
This is part two of a three-part post, so make sure you check out the last one too! This one is about the process of making the pet portrait Christmas ornaments. I didn’t take a lot of in-progress photos…I was working on a bit of a time crunch as usual and also I’m kinda bad at that part anyway, although I’ve been trying to get better at it as part of a long and complicated New Year’s resolution that I have. This here is what I do have. After I designed each figure with the few sketches from my last post, I set up my workspace with all my materials.
I have a stockpile of different gauge wire which I have collected from craft, hobby and hardware stores, which I use to build the armature, or understructure, of all of my sculptures. I don’t have a standard size that I always use or anything, it really just depends on the size of the piece I’m making and how flexible or rigid I want the inner skeleton to be. Since I wanted these sculptures to be more bendable and less breakable, I think I mostly used the more bendy steel galvanized wire for them. I started with Clancy, constructing a basic skull and spine shape and then wrapping it with masking tape.
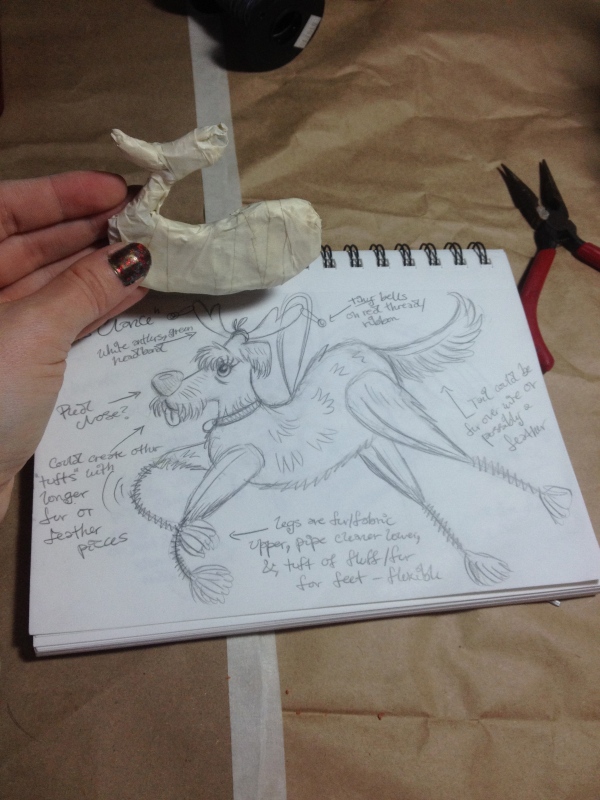
I made sure to that the armature wasn’t too bulky to leave room for the layers of batting and fur that I planned to add later, and I didn’t include any of the limbs because I knew from my design that I would be making them out of pipe cleaners. I also used my original drawing as reference for the general size and shape of the armature.
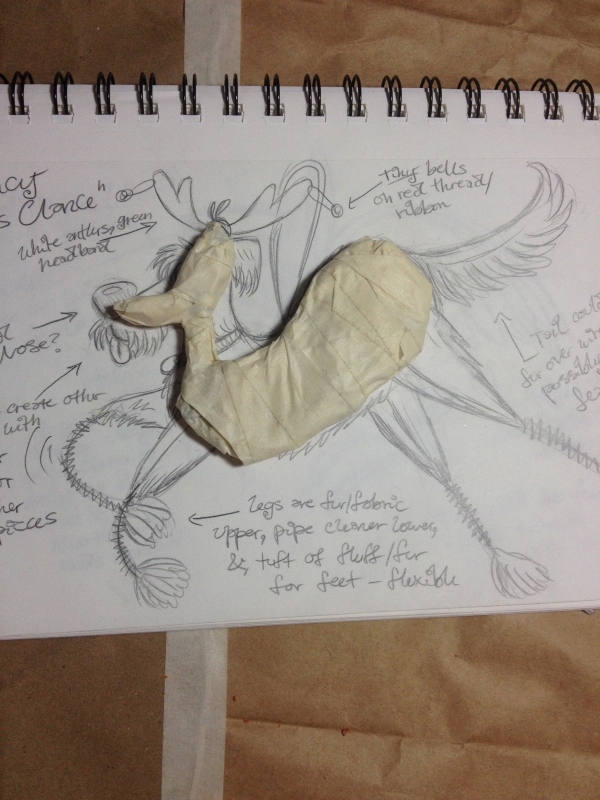
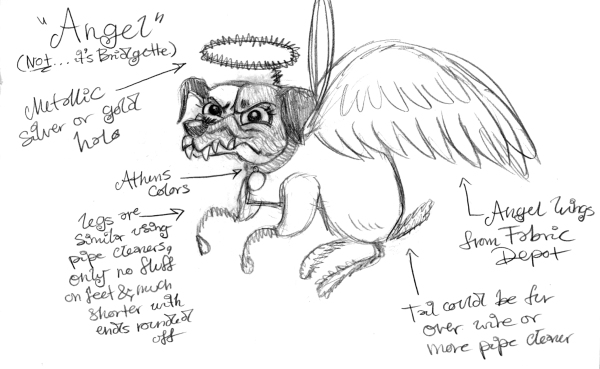
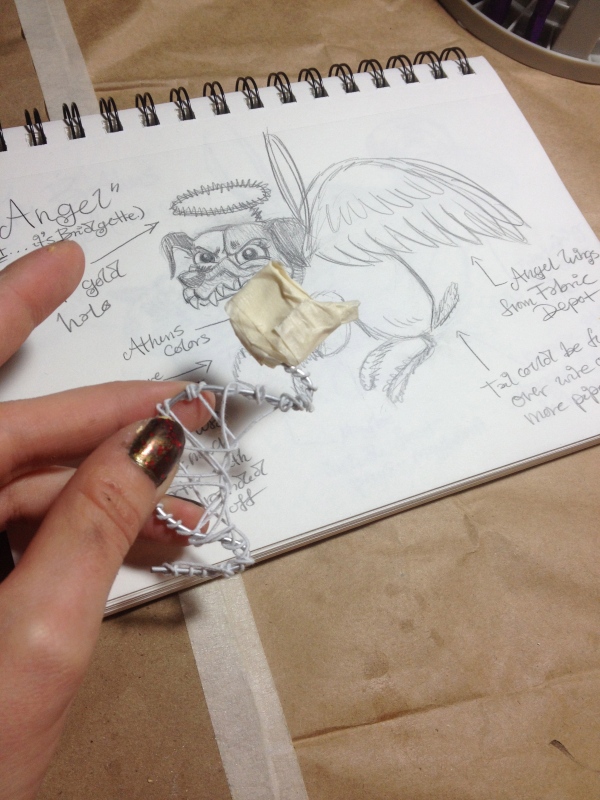
Normally after this step I would continue sculpting each figure individually, but due to the time crunch and of them all needing to be shipped to the same place for Christmas anyway, I made these in more of an assemble line fashion. Right after I made the Clancy armature, I moved on to Bridgette. I think a quintessential element of the Bridgette form is the angle of the little nub tail and the aggressive hunched back, so I spent some extra time getting that part just right. I also wrapped the spine with that thin and flexible paper-covered florist wire before I covered it in masking tape just to make sure that nothing went anywhere.
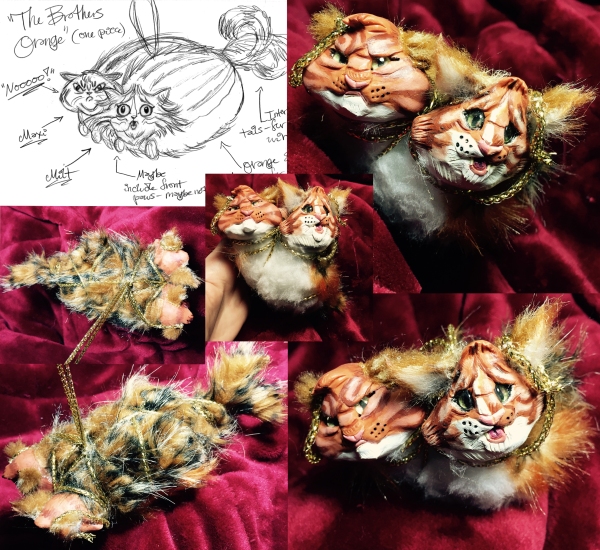
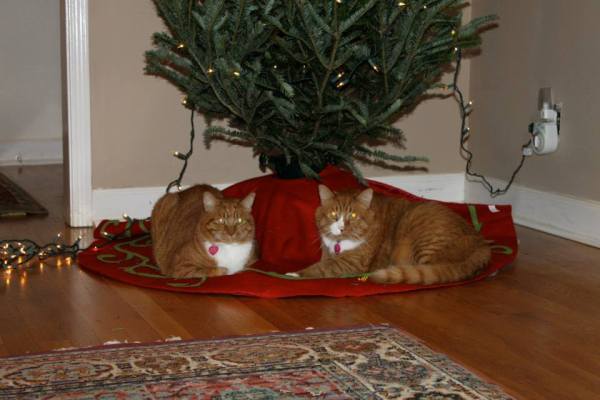
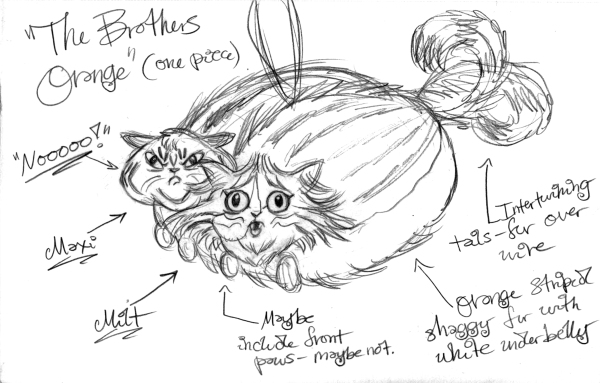
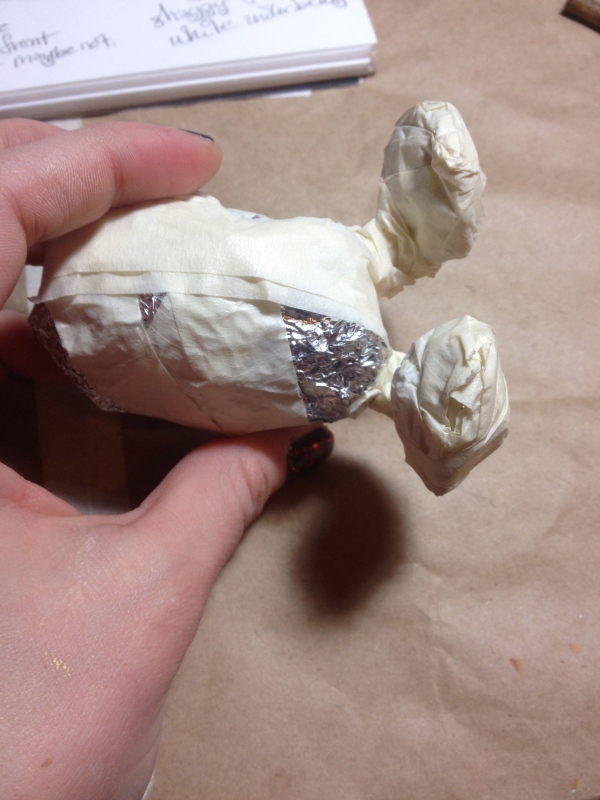
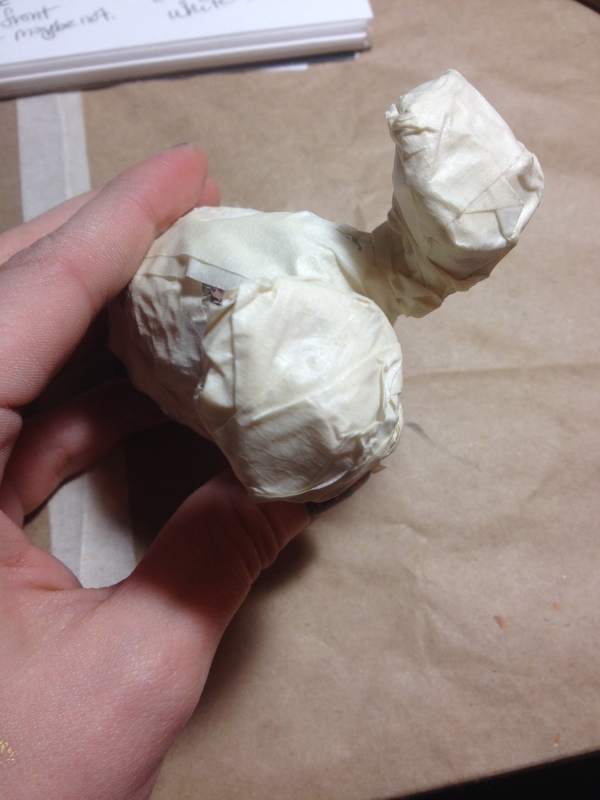
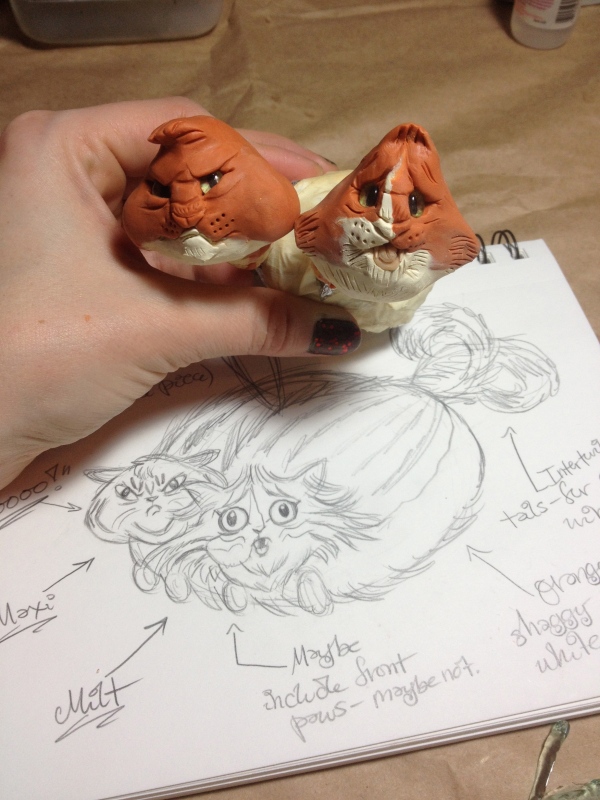
The armature for MaxiMilt/The Brothers Orange was definitely the most bizarre of them all. Because I gave them two heads and one body like a pair of cojoined twins, I had to make sure to leave enough space between each head that I would be able to sculpt each one individually. So as a result they pretty much just ended up with weird freakishly long necks which I planned on covering and padding out later.
Here’s what it looked like from the front:
After I had the armatures ready, I just dove straight into sculpting the heads without taking a whole lot of photos in the process. I remember that after I spent the longest time blending several colors of polymer clay together to create the perfect shade of haystack blonde for Clancy, half of his face got singed brown in my Amaco polymer clay oven for being too close to the metal ceiling. It would have been great if that had happened to the Bridgette figure, who is supposed to have a two-toned face so it actually would have saved me a step…but of course that was not my luck. This was only my second project using that oven, and although it is infinitely easier and safer to use than a conventional oven, I guess I still have a couple of things to learn. Anyway, it all ended up being alright in the end because I’m a pretty decent painter and was able to fix up his face like it never even happened. This is what he looked like painted and after the big correction:
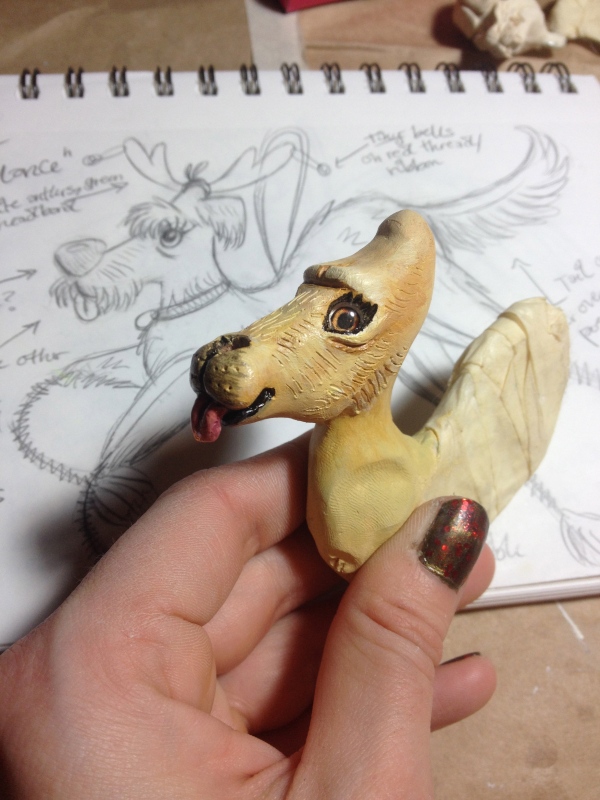
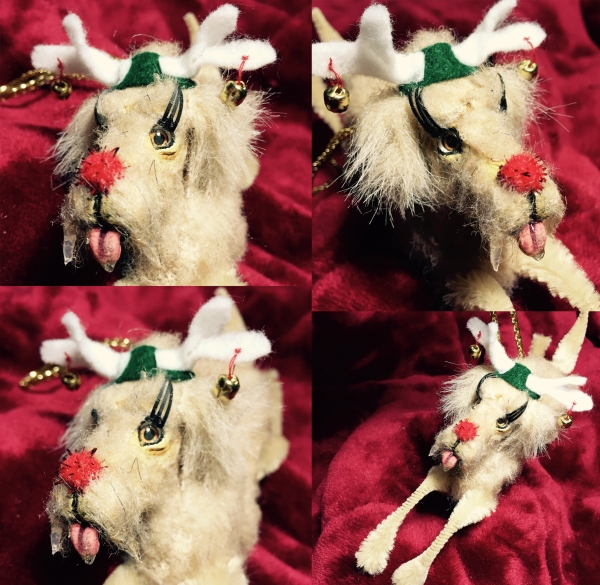
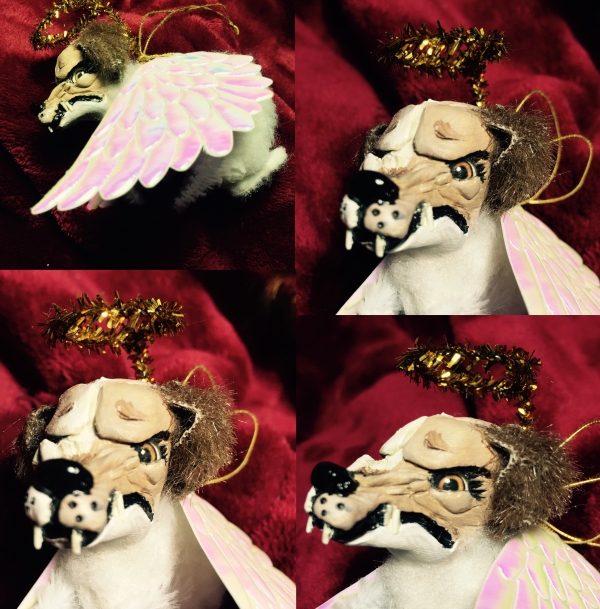
His eyes are 6mm glass cabochons which I purchased from a wonderful Etsy seller based out of Spokane, Washington. Her name is Megan Peterson and her shop is called SteamPunk Dream. She designs all of the eyes herself and makes a lot of really unusual and hard-to-find colors and patterns, particularly miniature animal eyes. I ended up ordering all of the eyes for this project from her, and they were a great deal as well, since glass doll eyes can get really expensive. Also in this photo, Clancy’s got an empty socket nose to be filled with a red pompom later. I used a lot of gloss varnish and even some clear nail polish to add shine and drool to all of the appropriate places.
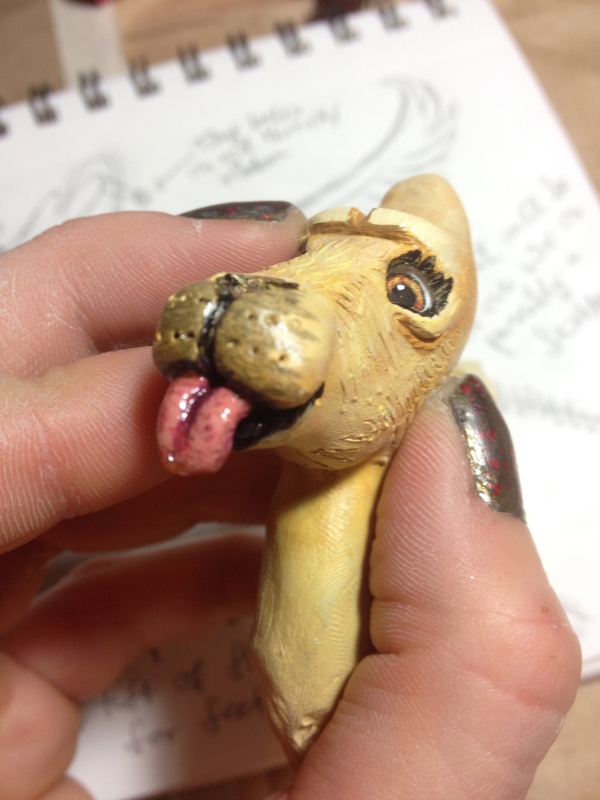
Later I would even add a little stringy drool with varnish and dried hot glue, because he’s a really drooly dog.
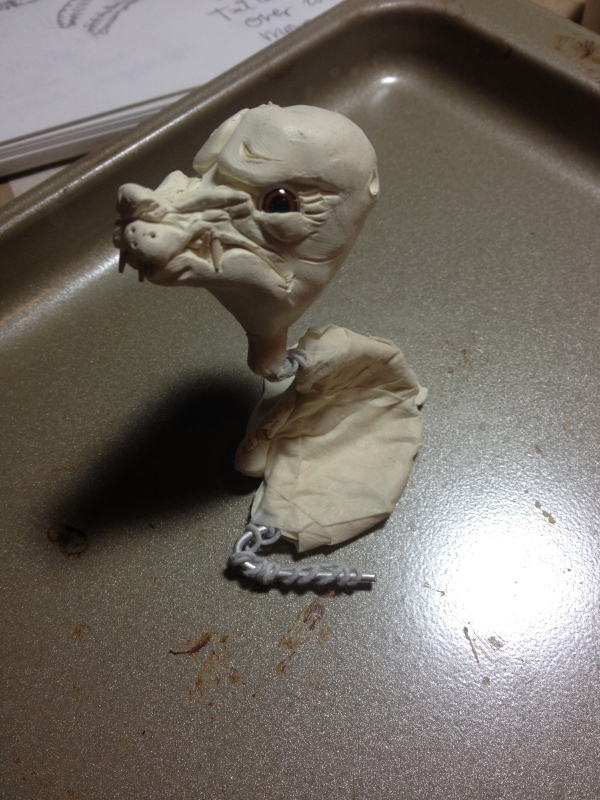
Next I sculpted Bridgette, which was a lot of fun getting in all of the little nose wrinkles on her hateful snout. Here she is before I painted her:
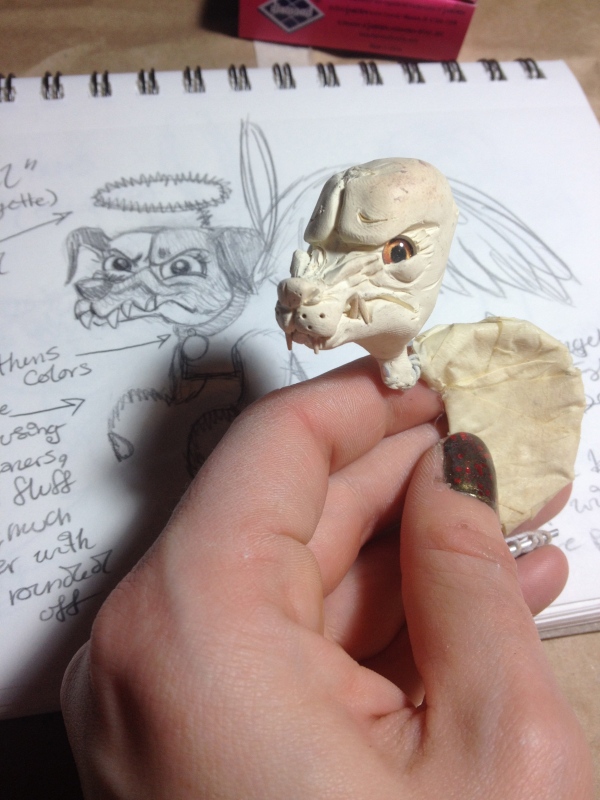
In case you were wondering, I made her little teeth with broken toothpicks. Here is the most hideous and hateful little thing that you have ever seen going into an oven:
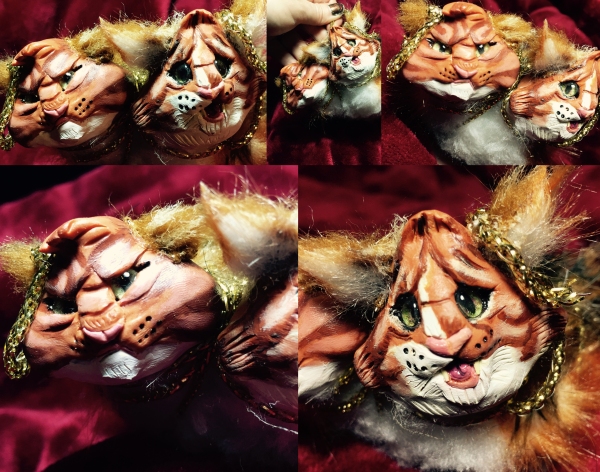
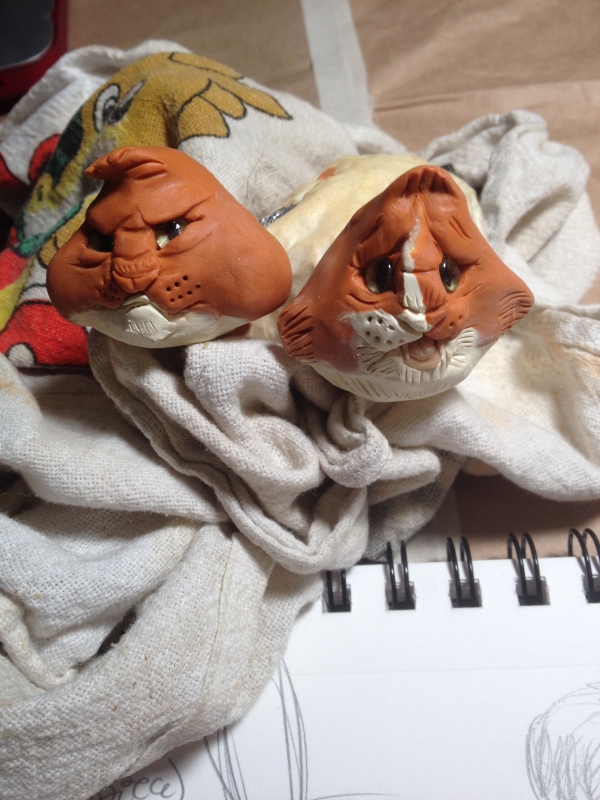
Next up I guess was Max, and then Milton, but I really just sculpted those guys at the same time:
I was referring to the basic sketch that I had done while adding a lot more detail as I went along, since I never spent a lot of time on that drawing and it was really only for me to get the gist of what kind of facial expression to sculpt. They turned out quite different from the drawing but I definitely like the end result much better.

It was a fun an interesting challenge to sculpt in both the pumpkin orange clay and the white clay simultaneously to include both of their face markings without too badly smudging the colors together. Milton also had a generic super sculpey flesh colored tongue and two toothpick teeth. Here they are all cozy and fresh out of the oven:
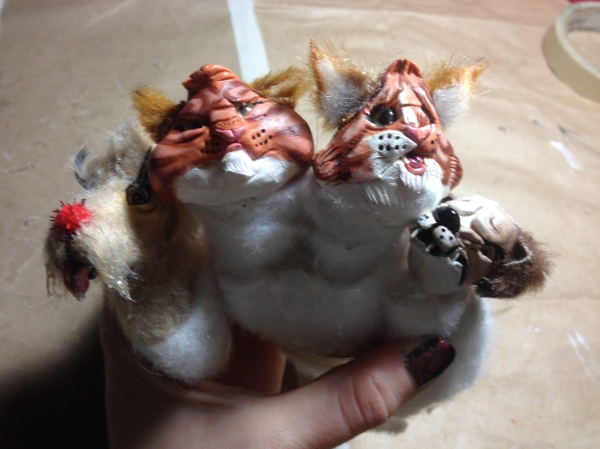
I think a big part of the reason why this project was so much fun was all of the different fur patterns and textures that I later got to paint or glue onto these guys…Clancy’s shaggy blonde flyaway mane, Bridgette’s two-toned face, and Max and Milton’s stripes and facial markings. Looking back at my photos, I think one of the very first things that I did was attach Clancy’s red tinsel pompom nose:
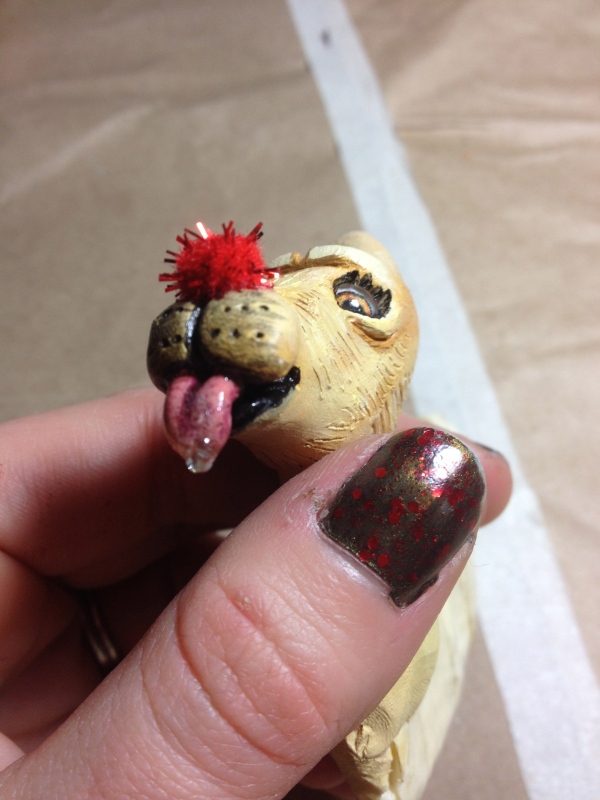
As you can see, the drool just kept progressively getting bigger, and I wasn’t even done with it when this photo was taken!
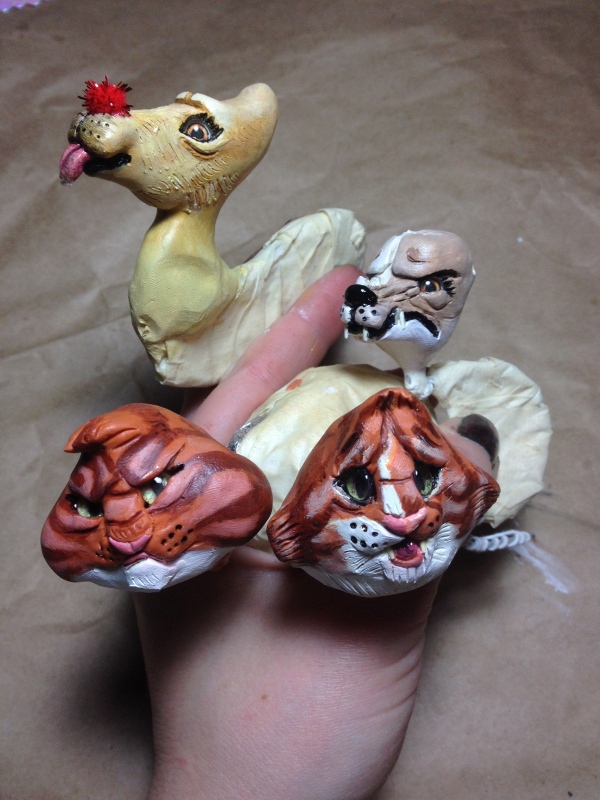
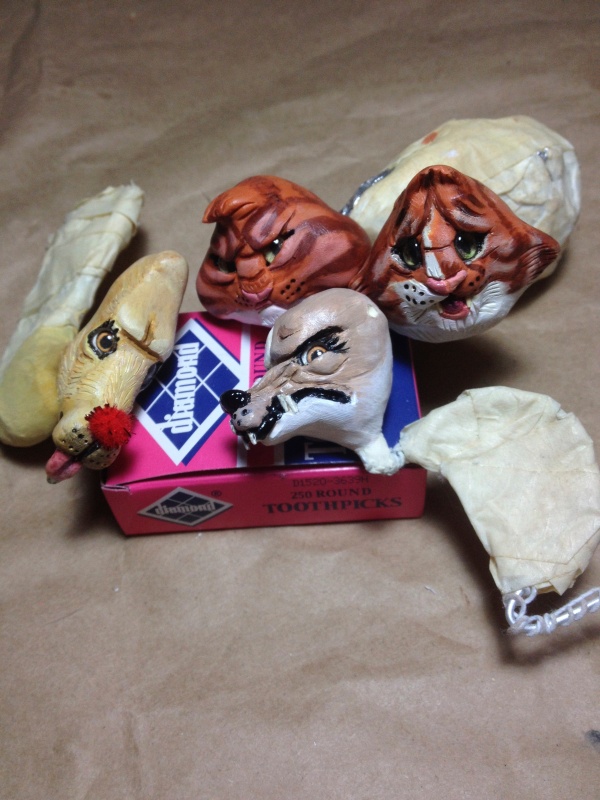
I didn’t take many individual photos of the painting stage, but I did take a couple of neat group photos:
By the way, these were painted with a combination of acrylic paints and all-purpose air-dry ceramic paints, with touches of acrylic varnish and clear nail polish. Hangin’ out on a toothpick box to dry overnight:
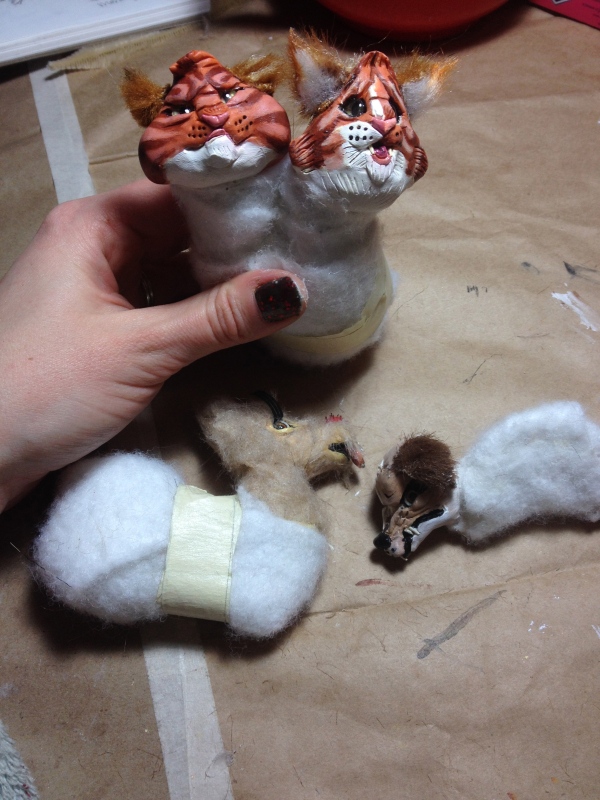
Ugh…this post is so long and exhausting…please remind me never to save all of this work until last ever again! I should have broken into several more parts than this. Oh well. There’s only one more in-progress step that I even have any photo documentation of anyway, and that’s padding out the armatures with batting before I covered them all up with a fur skin. It may also be noted that at this point I had already glued fur and big sappy eyelashes to Clancy’s face, because his sappiness is just as big a part of his essence as his shagginess. The others had also gotten some fur ears before this photo. Anyway, here you go:
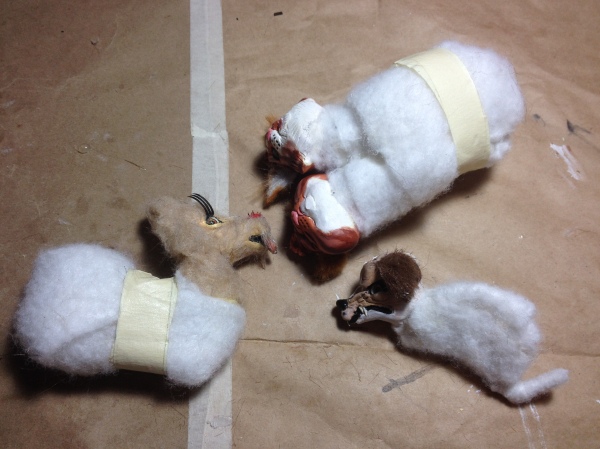
I was extremely lucky a few months ago because I had been in need of a lot of batting for my future projects, and I walked right into SCRAP PDX to find an enormous trash-bag-sized lot of someone’s old batting collection for like three dollars. I frickin’ LOVE that place. Here’s another batting stage photo of The Brothers Orange, who definitely needed to use the most of it:
I even added more layers of batting to them later, but unfortunately this last blurry group photo is all I got:
So there you go, there’s all the in-progress photos that I got of this project. I’m gonna take at least a ten hour break before I write the last post that will feature the final products. See you.