As promised, I took a lot of work-in-progress photos of Mama Kringle. Normally I like to write a series of many entries as I’m working on a doll and so I can post my progress photos as I go along, but let’s just say that I have a lot of catching up to do this time. Due to the sheer volume of the photos I have taken since I first started on her, this entry and the one that will follow are going to be mostly photos with very brief explanations in between. If you guys have any questions about any of them or my process in general, please feel free to comment below!
I. DESIGN
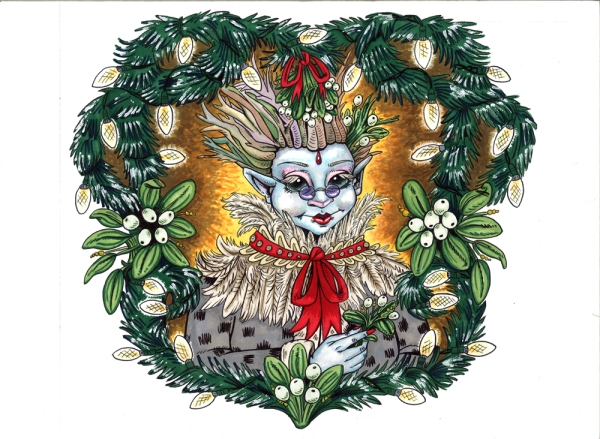
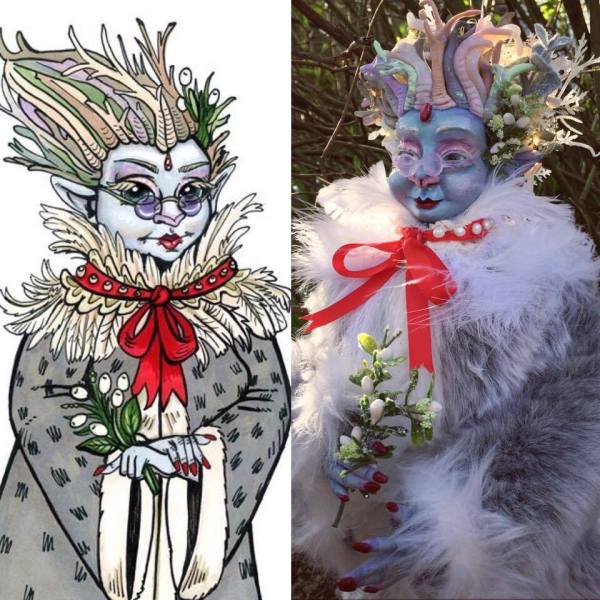
Without further ado, here are first some images of Mama Kringle from my children’s book, Kris & Krampus Kringle, to serve as a reminder of the character design.
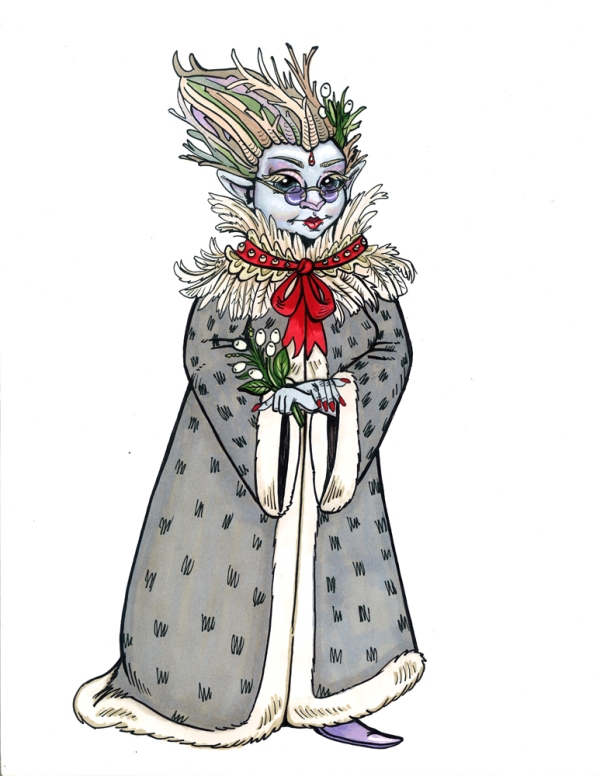
I usually make my dolls just based off of a singular idea or sketch and sort of make the details up as a I go along, so making a three-dimensional version of a pre-existing fully-formed character is somewhat rare for me and a lot of fun.
II. SCULPTING
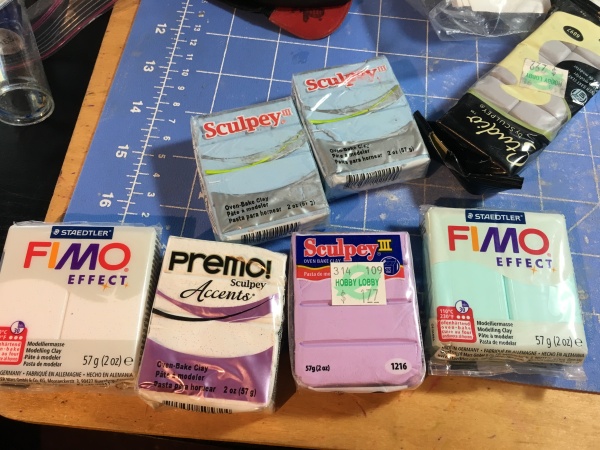
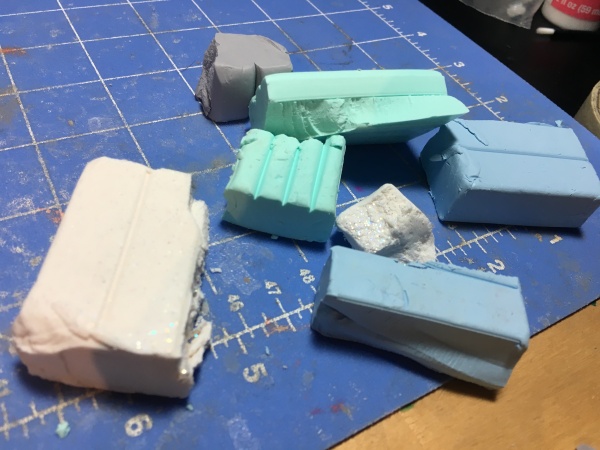
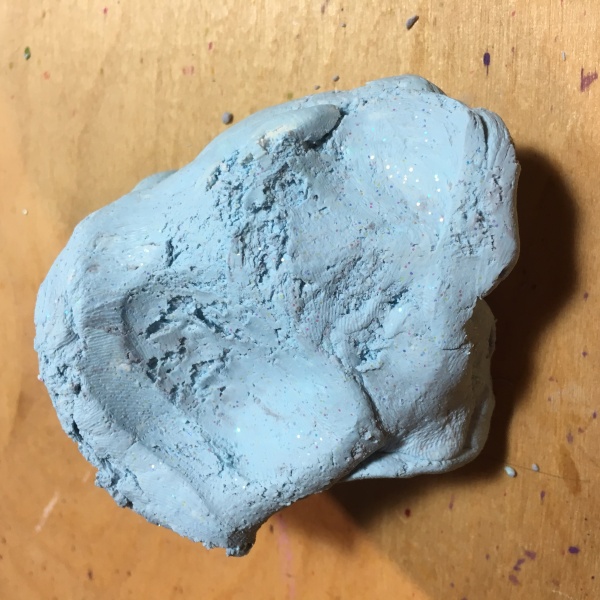
I took inventory of my massive polymer clay collection and gathered an assortment of colors to make a custom skin tone. Some of them were quite sparkly.
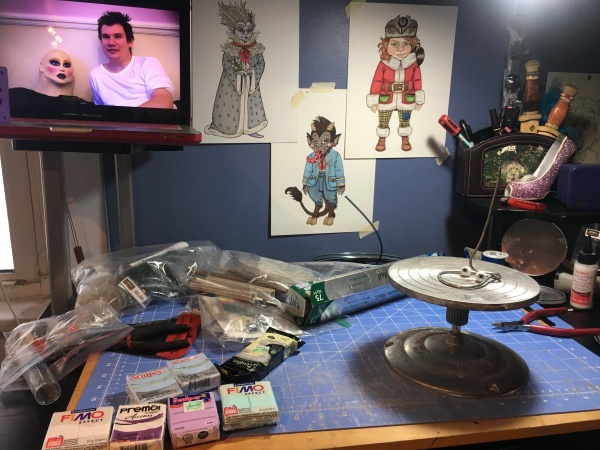
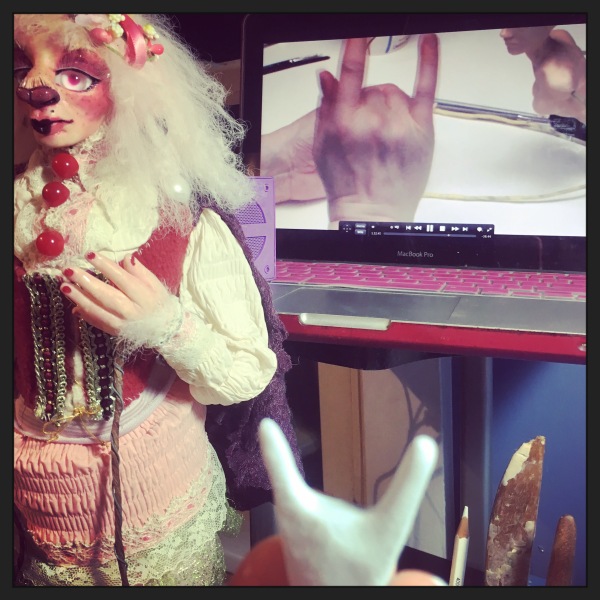
My workspace, complete with weird Netflix documentary about men who like to dress up as giant masked dolls.
A pair of beautiful glass eyes that I found on eBay.
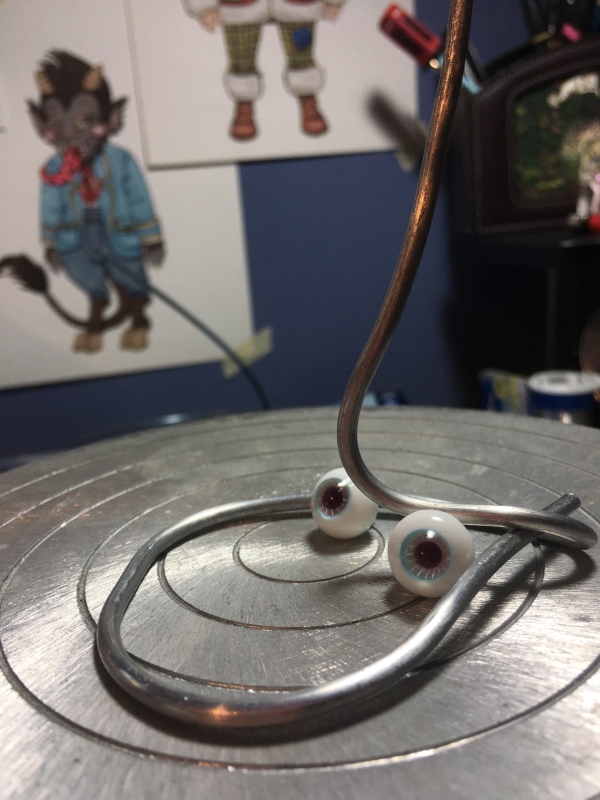
A lot of the more ornate and unusual glass eyes that I buy are intended for Dollfie ball-jointed dolls. I know that the Frouds and many other doll-makers out there really don’t like glass eyes because they can be somewhat restricting and a little bit tricky to focus, but I personally really have a thing for them. There’s always such an interesting variety of them online that sometimes I will even get an idea for a character based solely on a pair of eyes that I find.
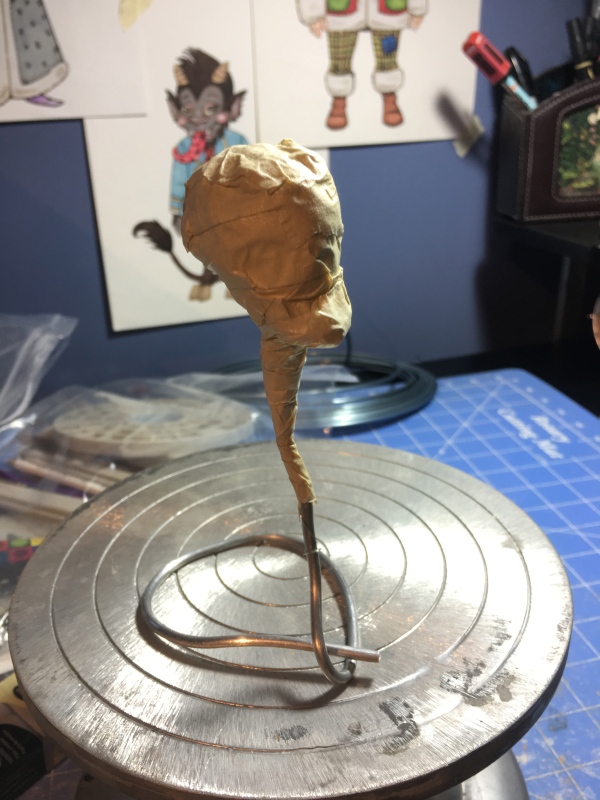
I always start by making an internal structure for the neck and skull out of looped armature wire, epoxy putty and fine jeweler’s wire for some extra grip, shaped pieces of aluminum foil, and then masking tape.

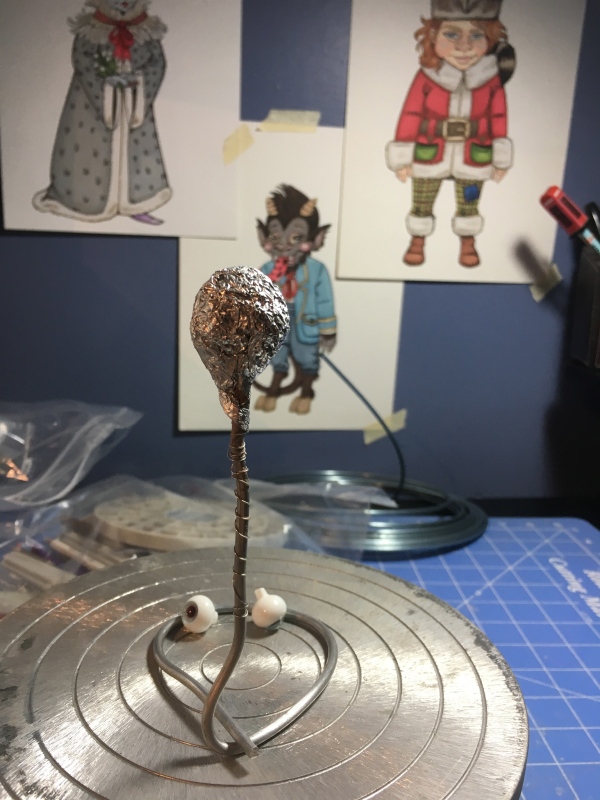
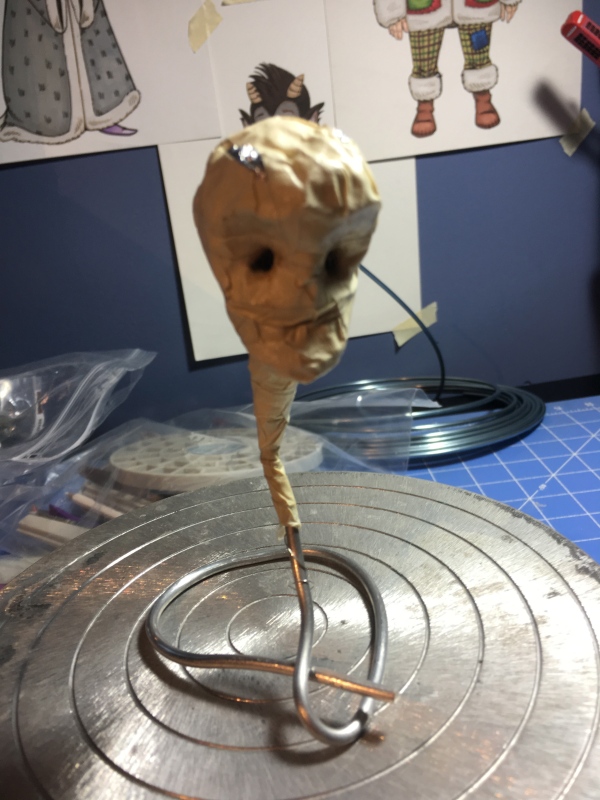
I made sure to gore out some eye sockets before putting any clay onto the skull.
Then I mixed up all this clay by hand. It took a while.
I seriously need to get me a food processor.
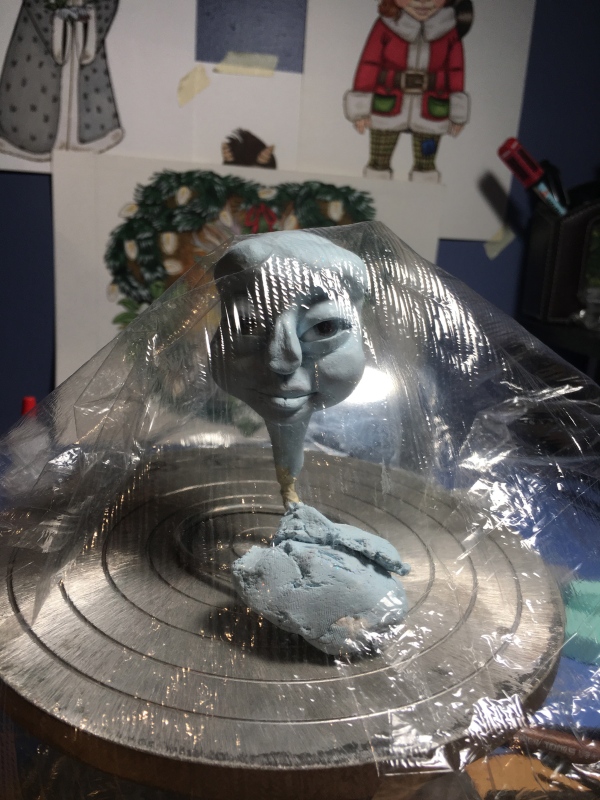
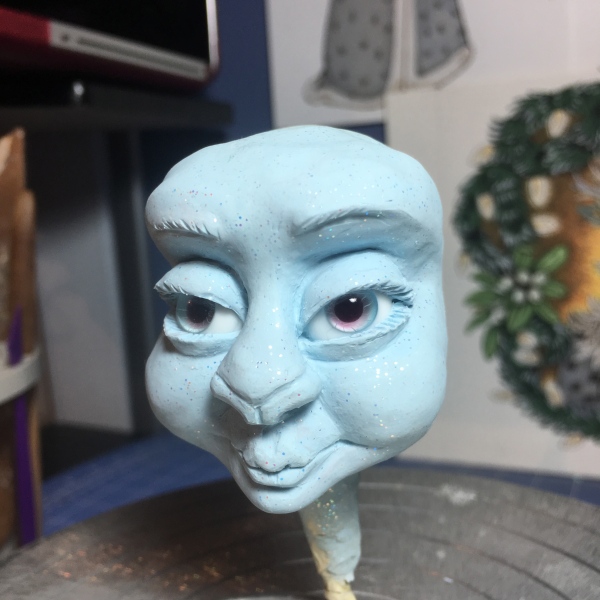
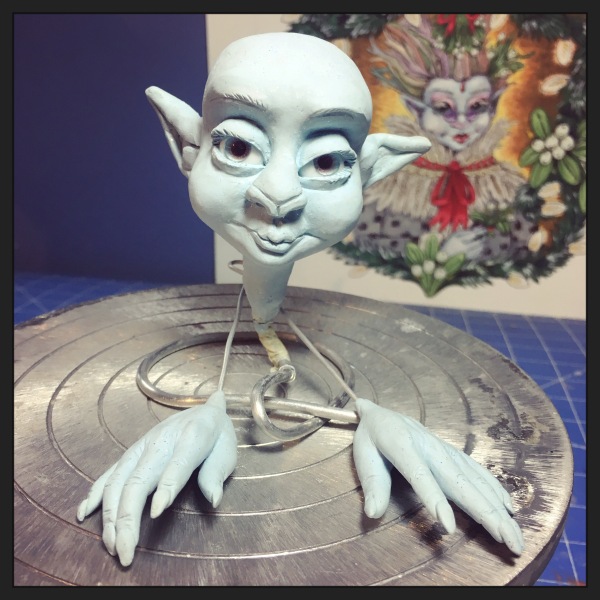
I then set the eyes into the sockets as I began to cover the skull with clay. This is how I started to form the face with basic shapes first.
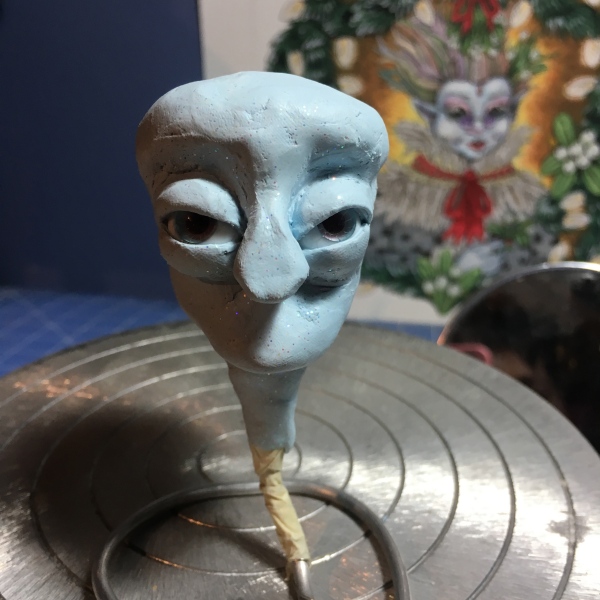
This is what she looked like by the end of my first all-too-brief sculpting session.
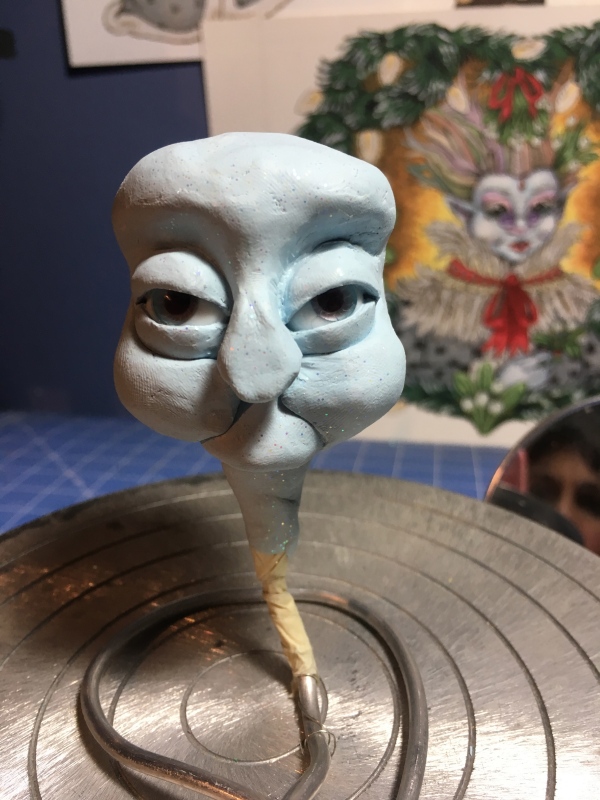
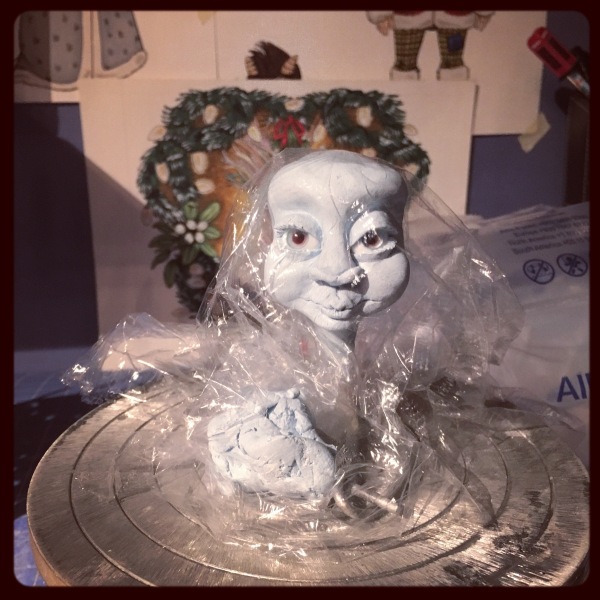
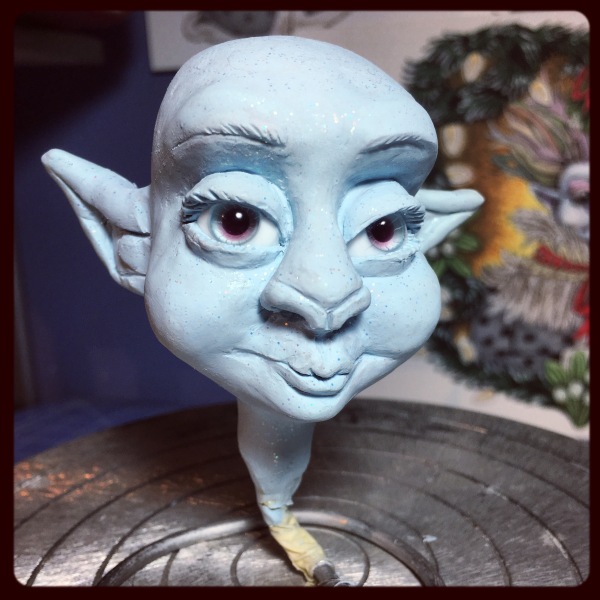
This one is from my Instagram, probably after I returned to her for another brief session a day later.
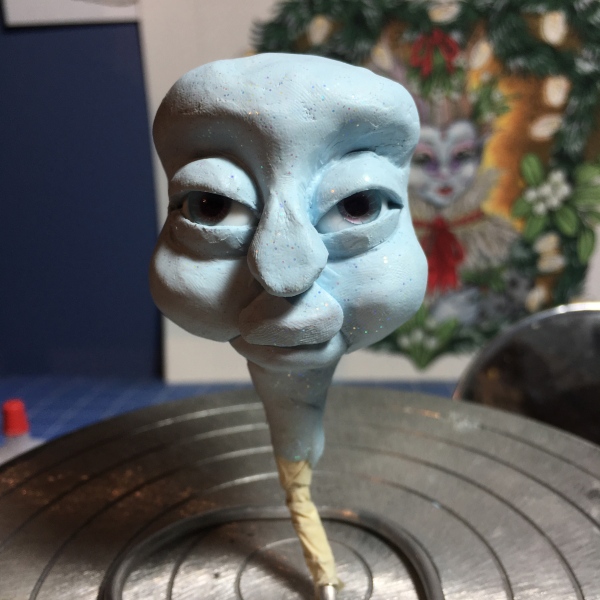
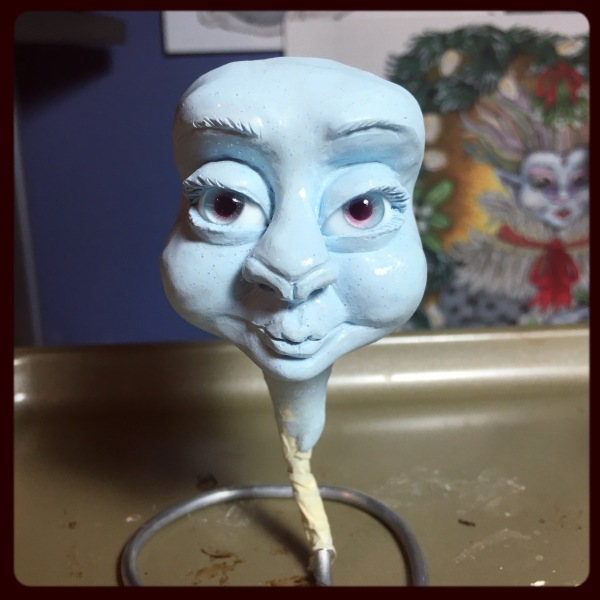
Another Instagram photo after she was ready for her first trip to the oven.
A wonderful thing about polymer clay is that you can bake it in layers to better save your work. It definitely helps you to prevent stressing over things while you’re working quickly, like delicate facial features that you wouldn’t want to accidentally smash when you’re working on the ears or the back of the head. You can bake most polymer clays at least three times before the coloration or texture changes that much.
Into the oven with you!
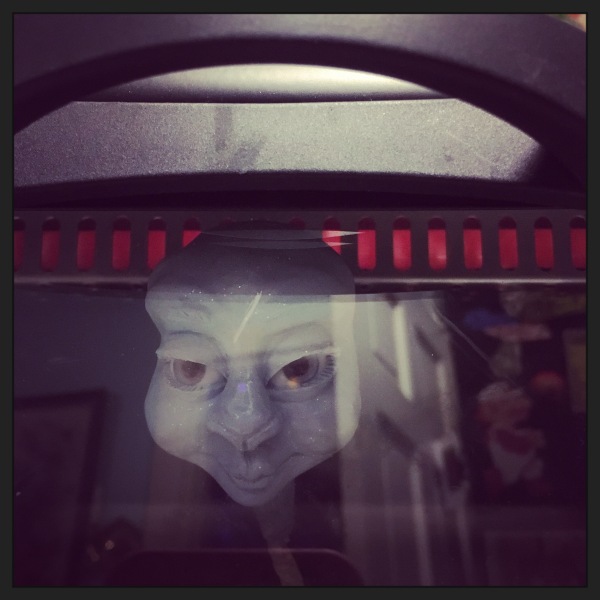
Creepy…I really love my Amaco craft oven though.
The glitter clay shines even more after it’s been baked!
Ears next.
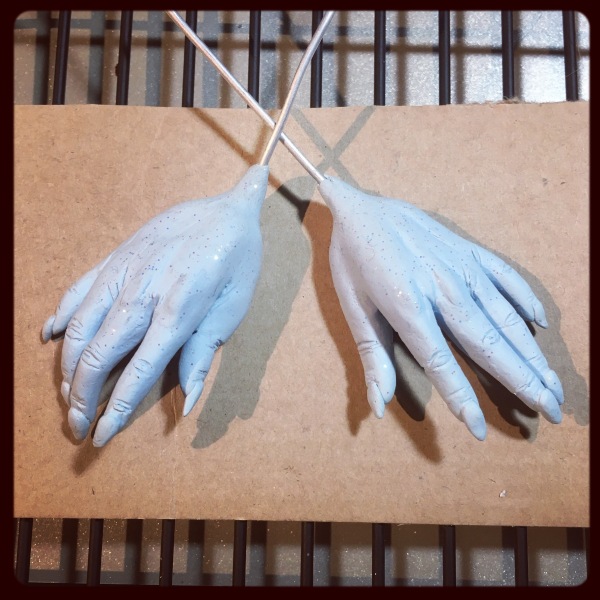
Next I made her hands, while watching my old Wendy Froud DVD and rocking out with my rod puppet, Lucia.
As per Wendy Froud’s hand sculpting technique, they actually do start as a simple throwing up the horns shape before I add the other fingers on one by one. Apparently I didn’t take any pictures of that, but here they are going into the oven.
Just waiting around for some hair.
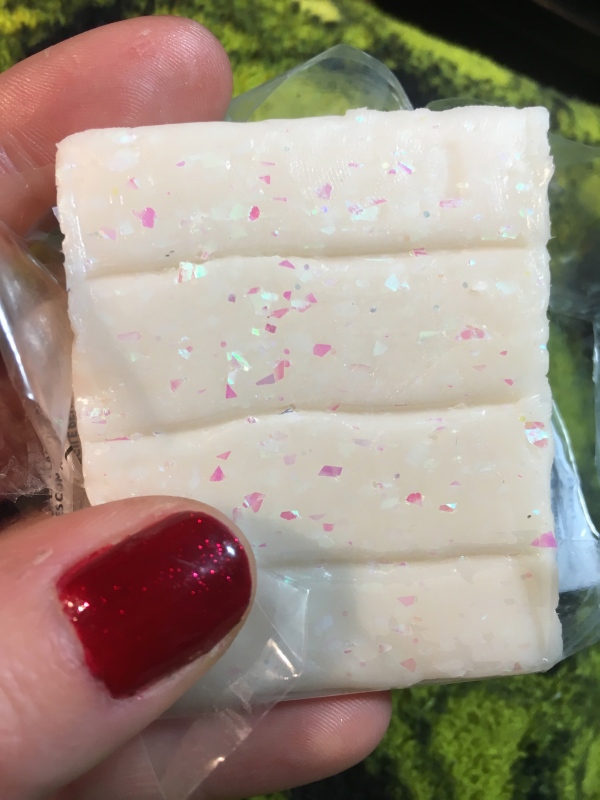
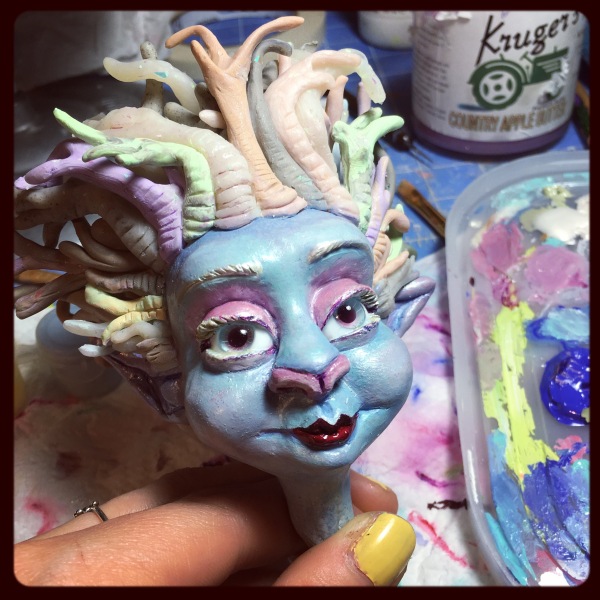
I think all the glitter clay worked out great for her skin, but by this time I had also discovered another kind of special effects Premo Sculpey clay at Blick called, “Opal.”
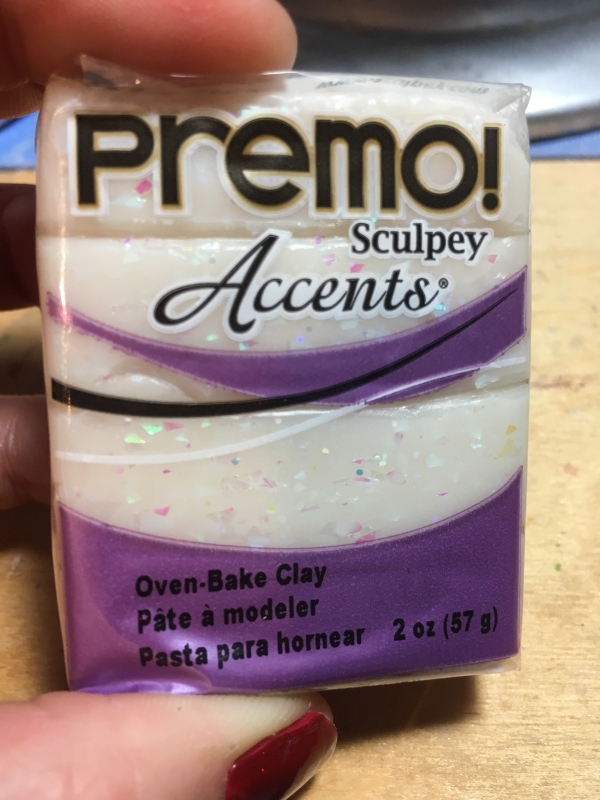
I thought this one was so cool, and was pretty excited to try it out in her hair!
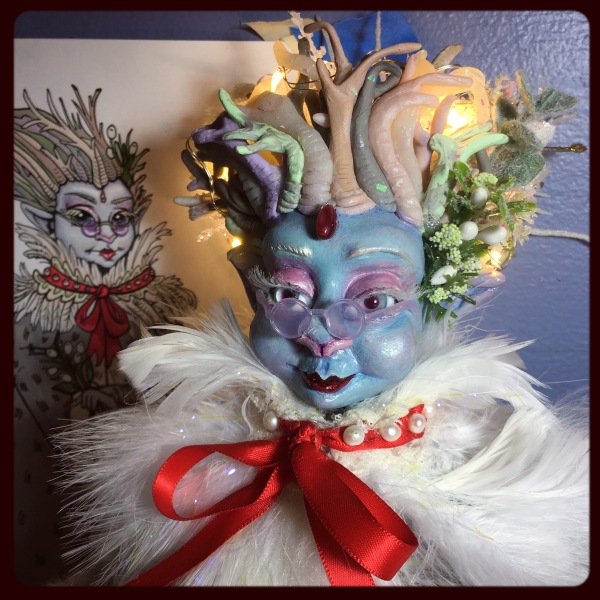
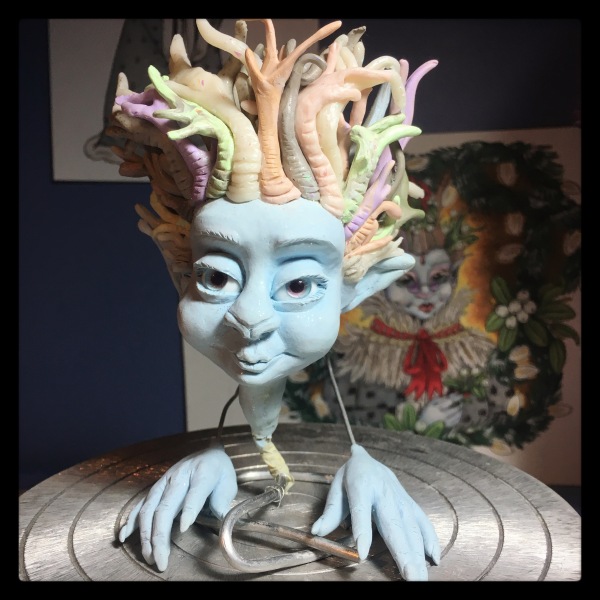
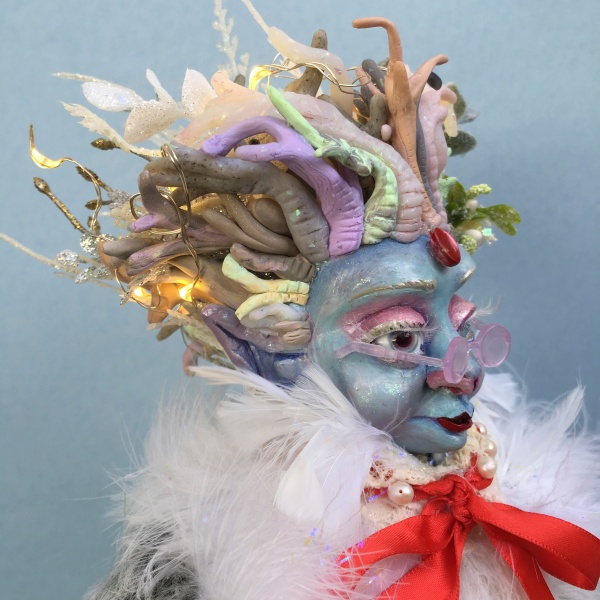
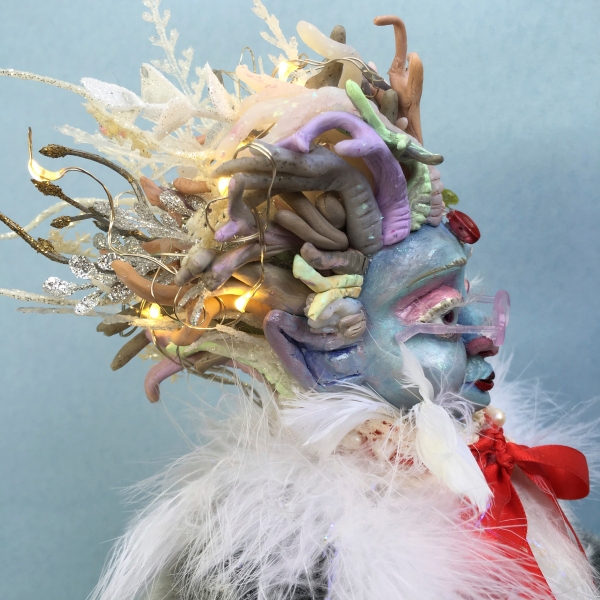
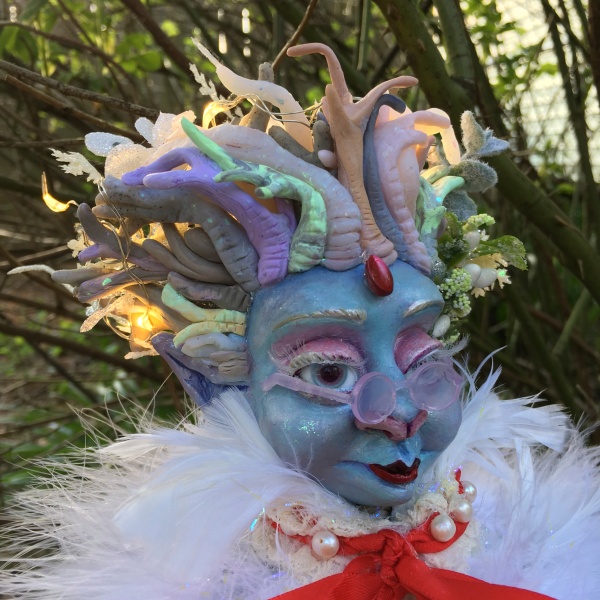
I made the basic structure of her hair by twisting many different other colors of polymer clay together into tapered rope-like shapes, fixing them onto her scalp, and then adding additional little branches onto the larger ropes in the same exact way. Working my way in a circular pattern from the forehead and the nape of the neck to meet in the middle on the crown of the head, I eventually ended up with this.
III. PAINTING
Time for some paint!
I love that photo.
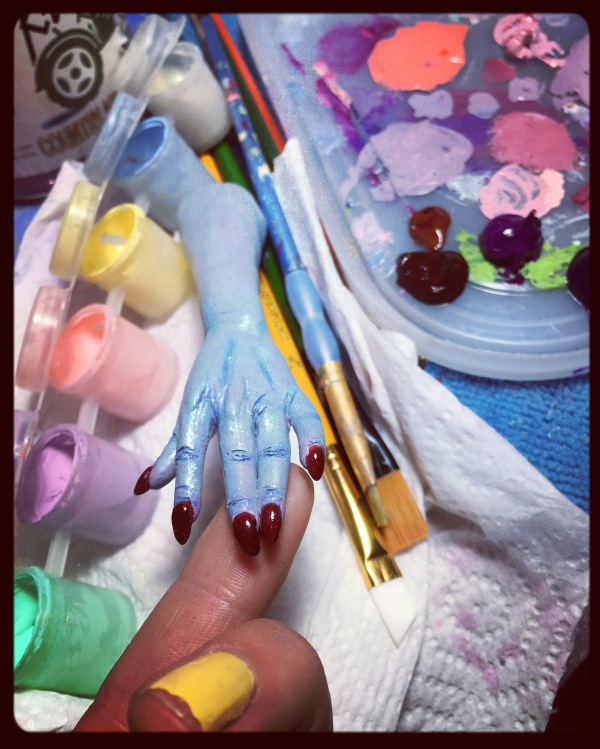
After trying out many different kinds of paints and doll-painting techniques over the years, I now prefer to use many thin glazes of acrylic paints over the polymer clay until I can build up the depth of color that I want.
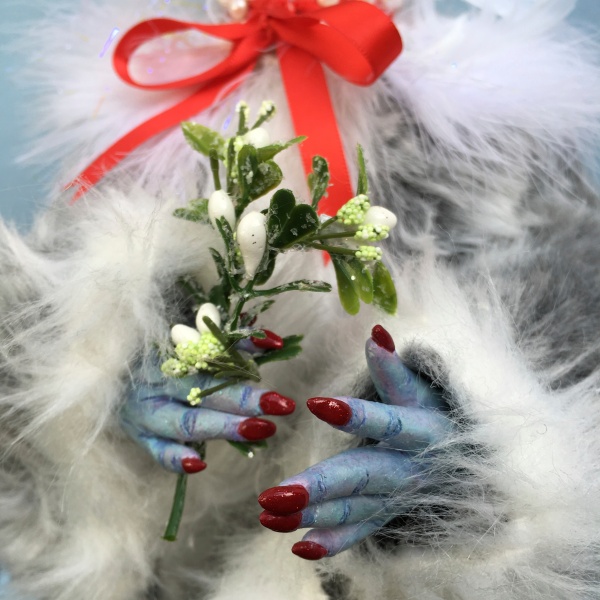
I occasionally will also use glitter and metallic paints, acrylic varnish for varying levels of shininess, and even stuff like nail polish and clear nail varnish for things that I want to be really shiny and wet-looking (like a tiny doll manicure!) Mama Kringle ended up being very colorful and sparkly, and a very fun one to paint.
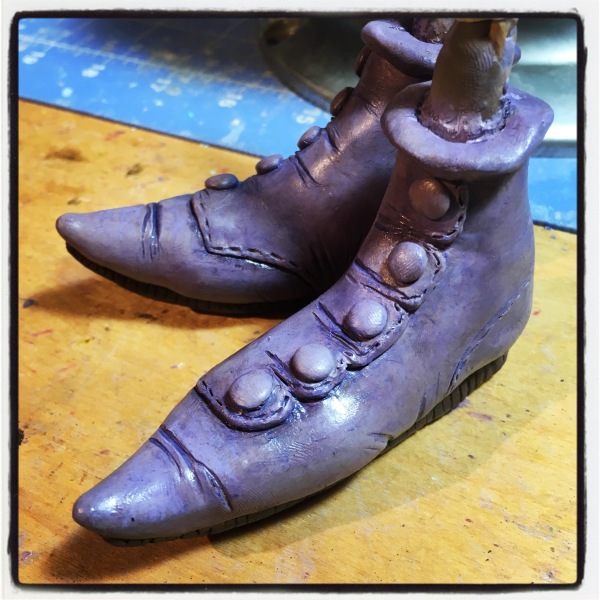
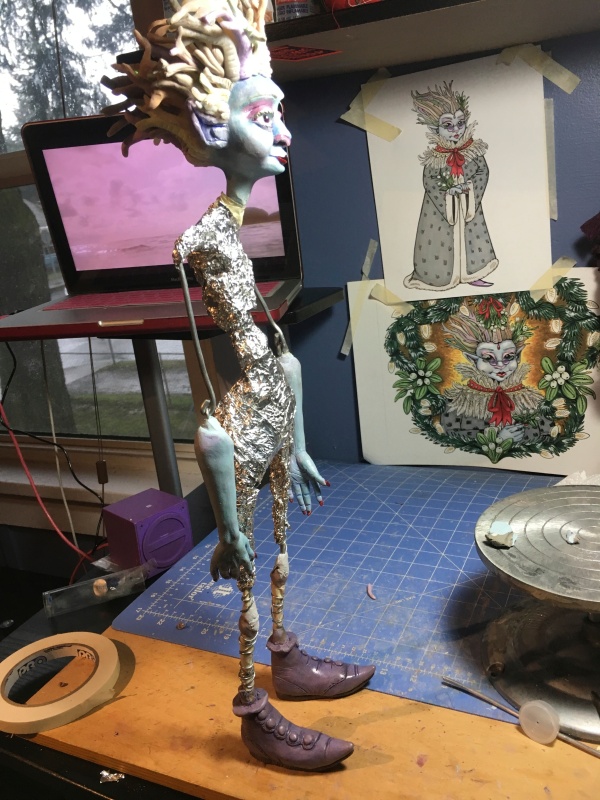
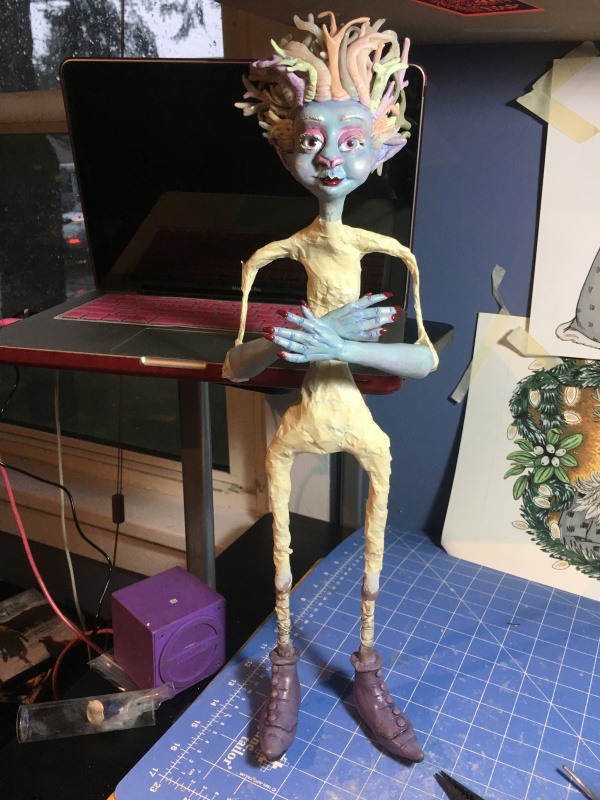
Next I made her some feet, which were even balanced enough to stand on their own!
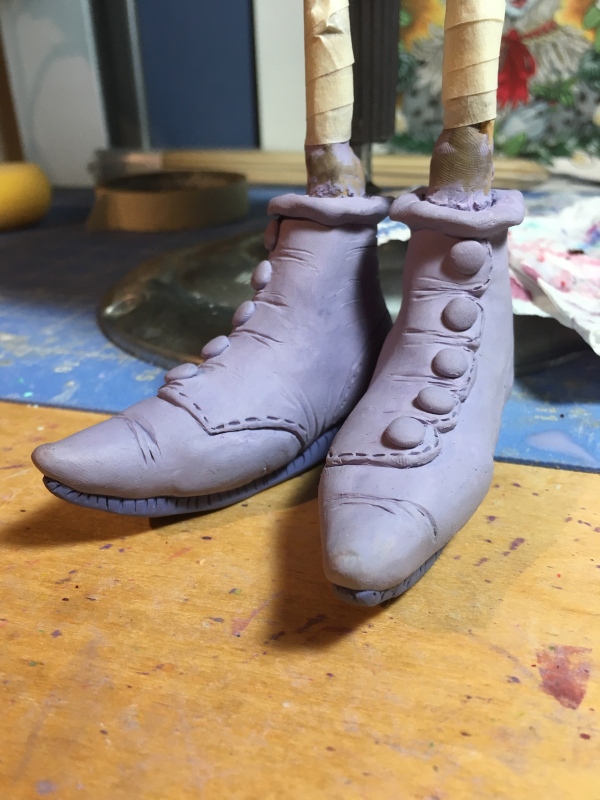
Although you can only ever see the tips of Mama’s shoes poking out from her robe in all of my illustrations of her, I decided to make the the tops of the shoes a little bit fancy. I looked at lots of photos of Victorian shoes for reference.
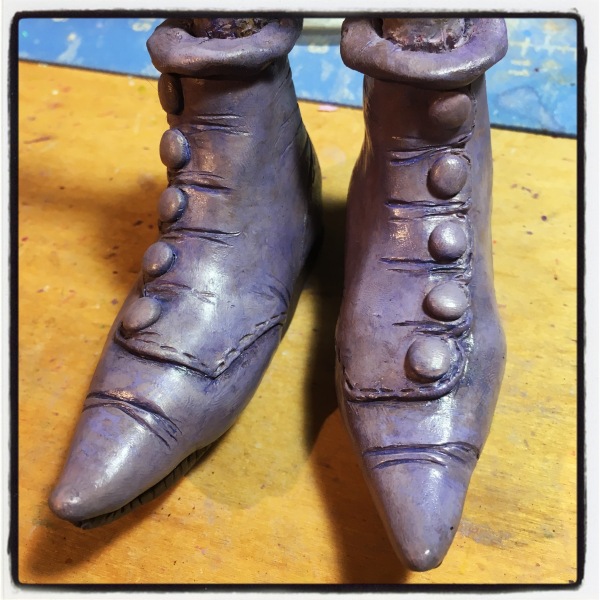
I think they looked way better after I stained them with acrylic paints so that they would more closely resemble worn leather.
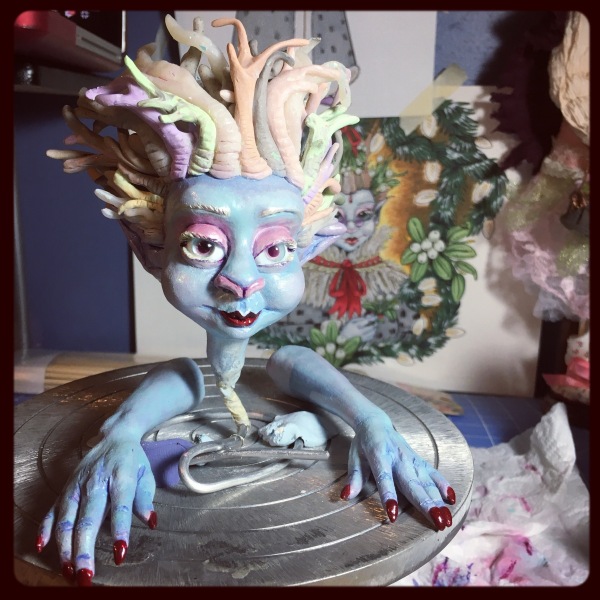
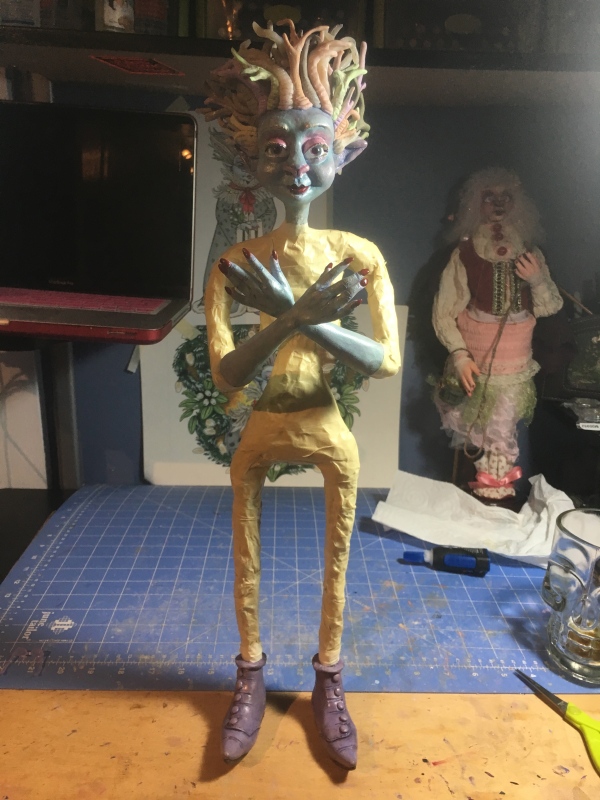
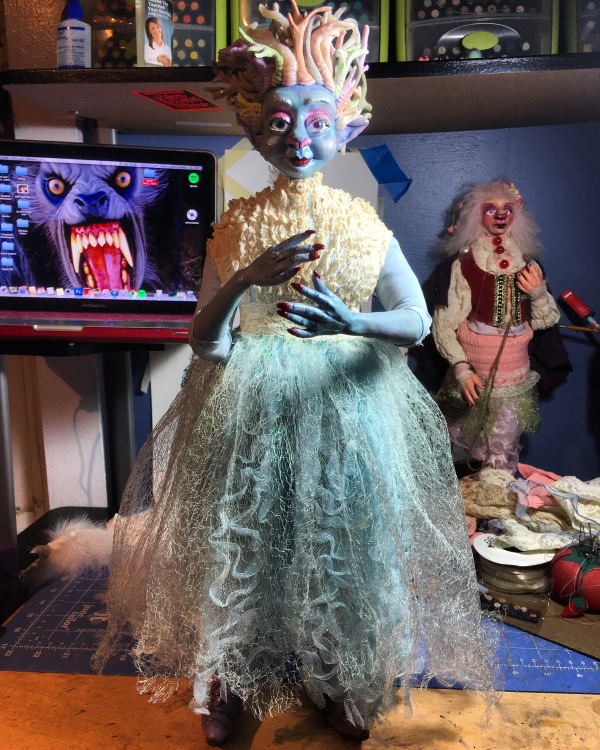
Here she is all painted and ready to be assembled!

IV. ASSEMBLY
To assemble her body, I began by making a basic skeleton out of armature wire with a spinal cord, pelvis, and stick limbs. I used more epoxy putty on the pelvis, kneecaps, and wherever I needed to make some strong joints that would’t shift around while I got the proportions on the shoulders and the limbs right.
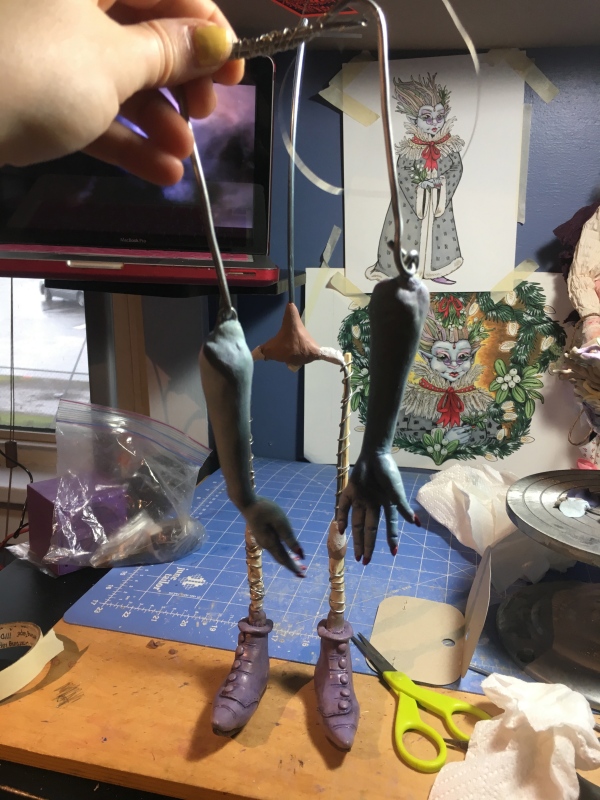
I also added some wooden skewers to the femurs and other larger bones for some additional strength.
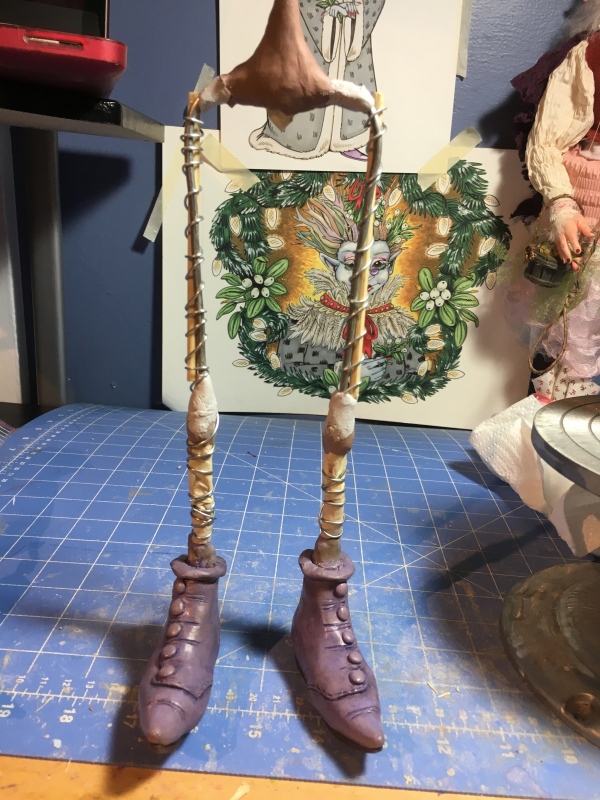
I made her elbows on loops of wire like hinges so that I would be able to pose her arms later.
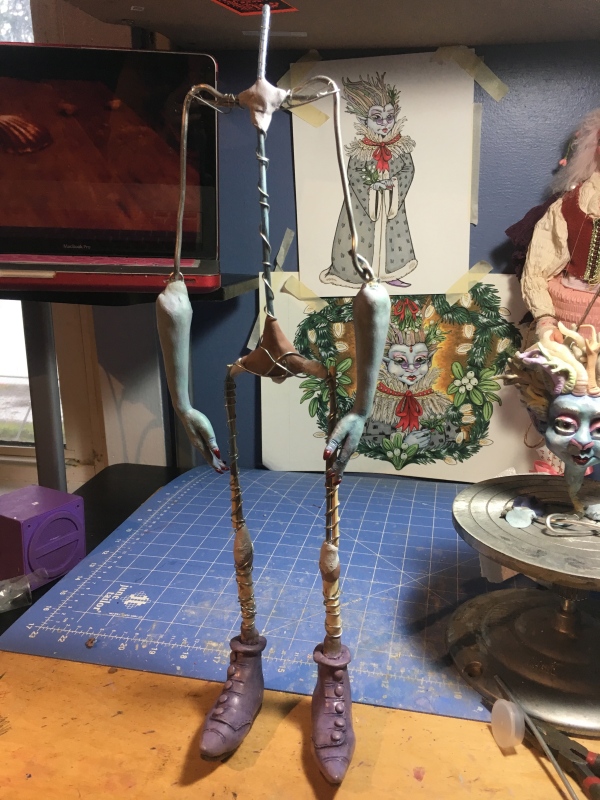
Next came the foil.
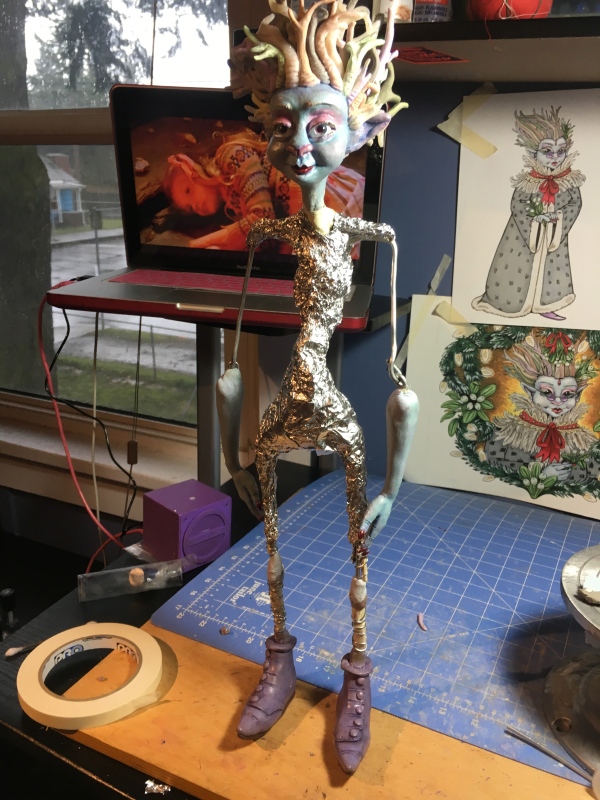
In case you are wondering what I was watching this time, it’s “The Secret of Roan Inish,” a charming Irish film about Selkies. It was great to watch it again along with my small collection of other Irish movies around St. Patrick’s Day!
Side view:
First layer of masking tape to hold her all together:
I later added a bit more masking tape to bulk up the limbs and strengthen the skeleton.
After I get a strong yet still posable skeleton, I begin to flesh out the body with batting…yes, just like in the Wendy Froud video in the background.
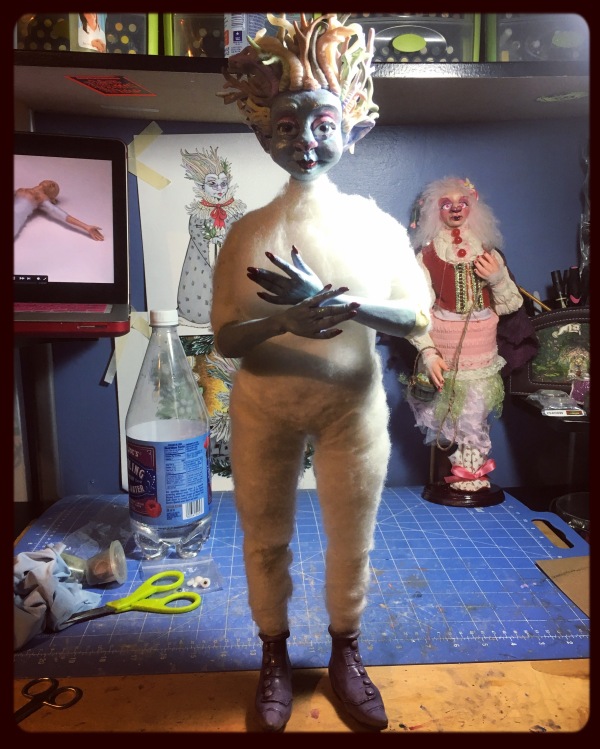
Batting sticks to itself and is pretty easy to shape and sculpt with a little finagling, so I usually tend to make a pretty detailed body shape with this step.
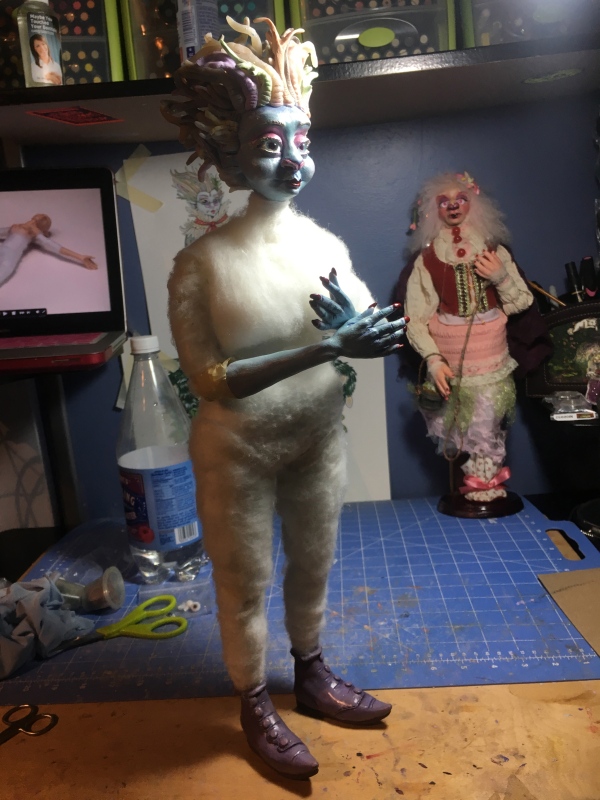
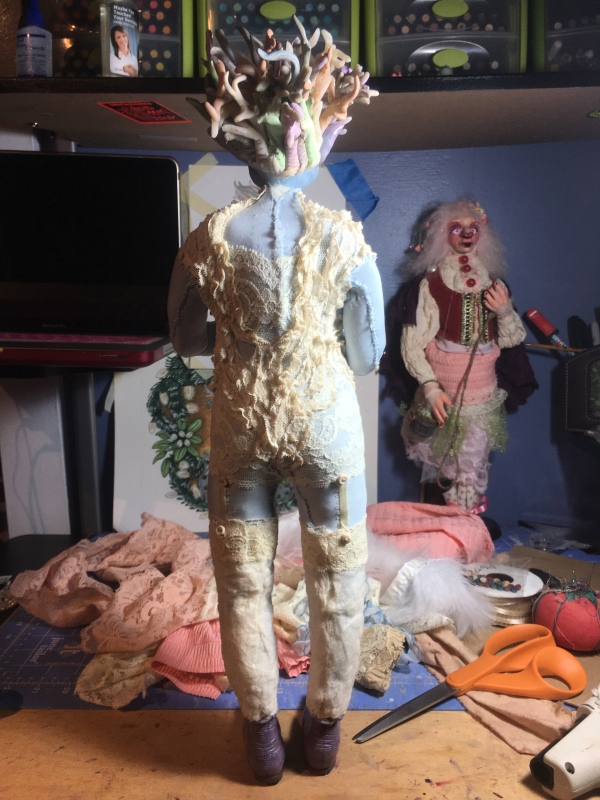
The very last step that I do before I move onto the costuming is I make a cloth body stocking over the batting. This creates a more cohesive “skin” and holds everything underneath in place. To do this I use some kind of thin, stretchy fabric; lycra in this case, and carefully stretch it over the toro and the limbs. I cut it all to size and then glue and hand-stitch it tightly over the batting “guts.”
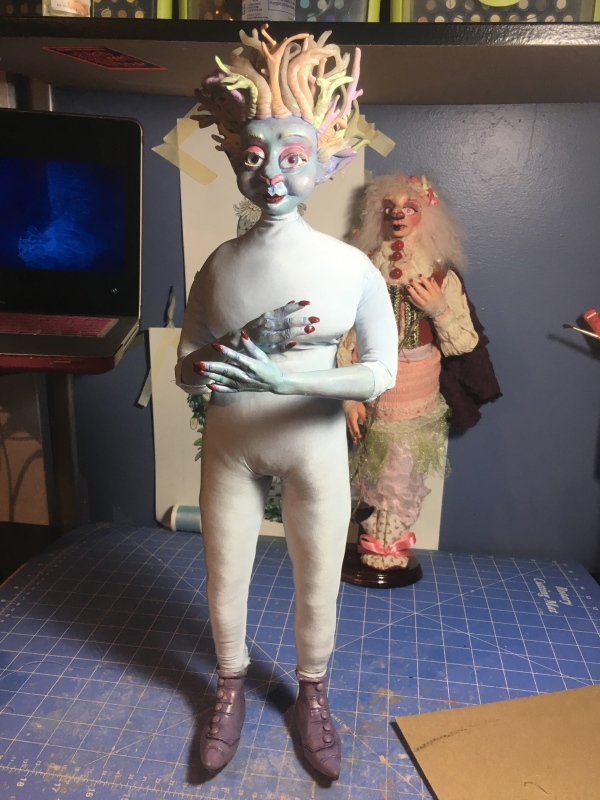
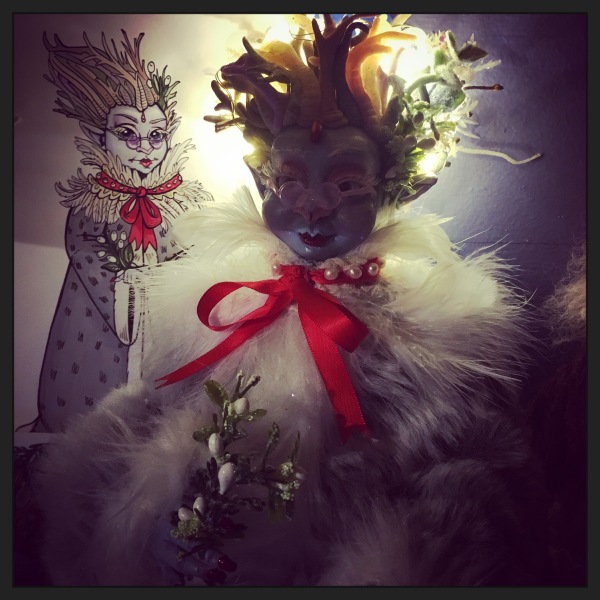
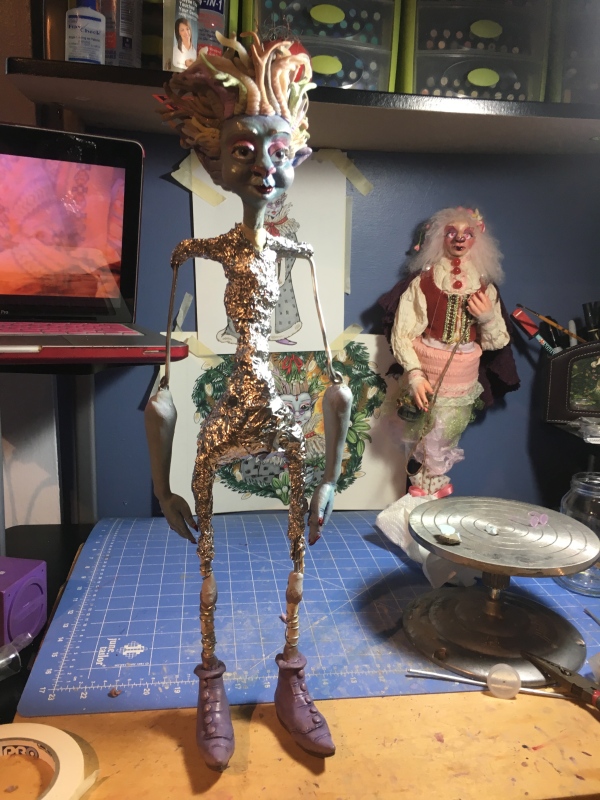
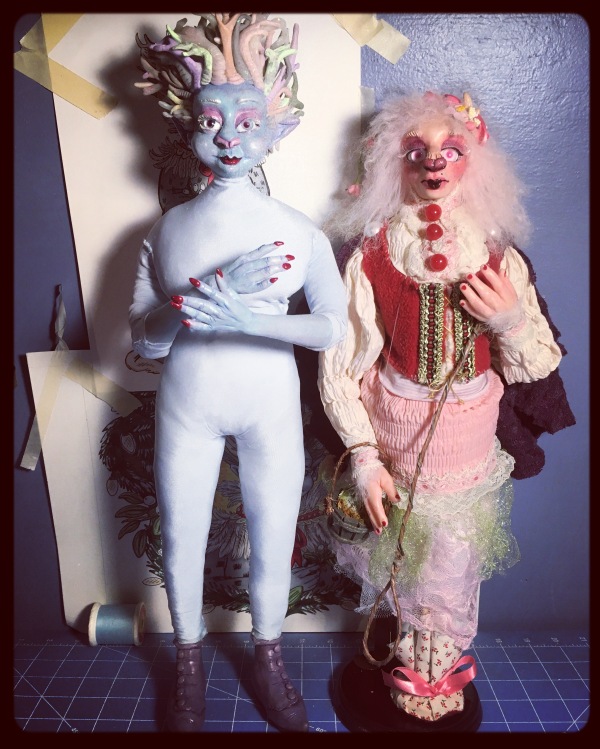
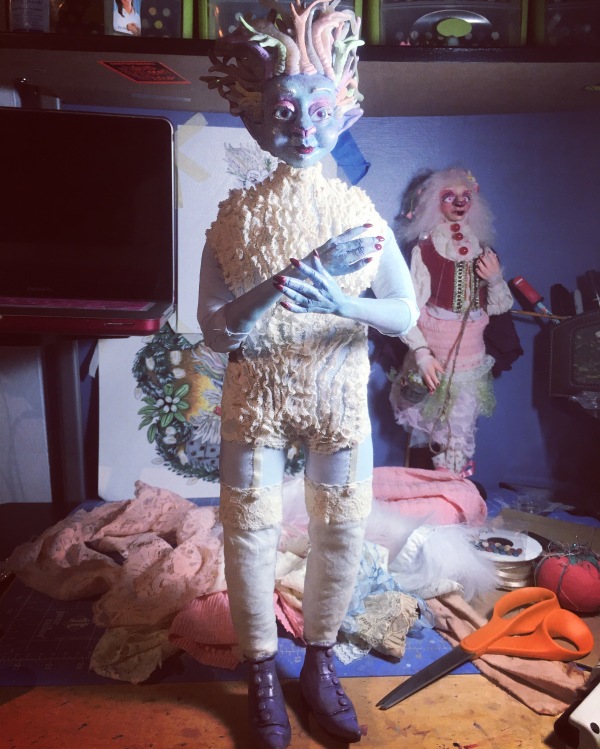
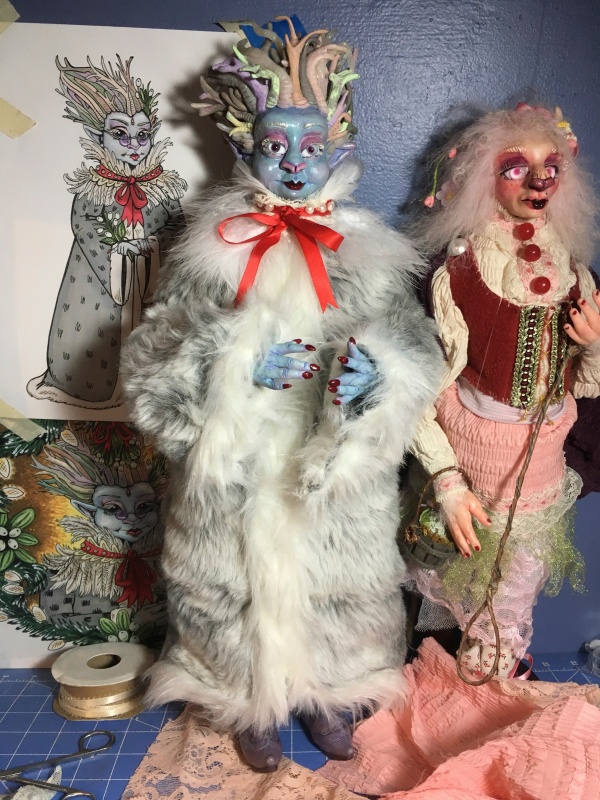
And there you have it, the design, sculpting, painting, and assembly of Mama Kringle! The last bonus photo I found on my camera roll before I moved onto the costuming was one of Mama standing next to Lucia for a size comparison. For the record, Lucia stands at about 17″ tall, and Mama Kringle is about 19″ tall without a stand. I’m really enjoying working in this larger scale!
Ok. Well that was pretty exhausting, and I again apologize for all the major catch-up posts that I’m having to do now! The good news is, you won’t have to wait very long at all for part two of the work-in-progress post since she’s already finished now, and I just have to type it all out. Be sure to check in again for that sequel soon!
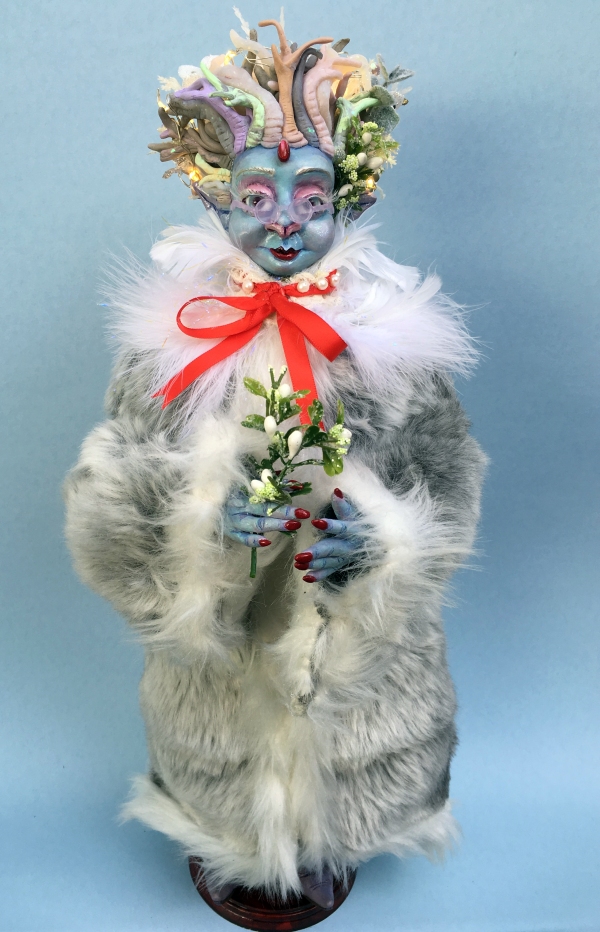
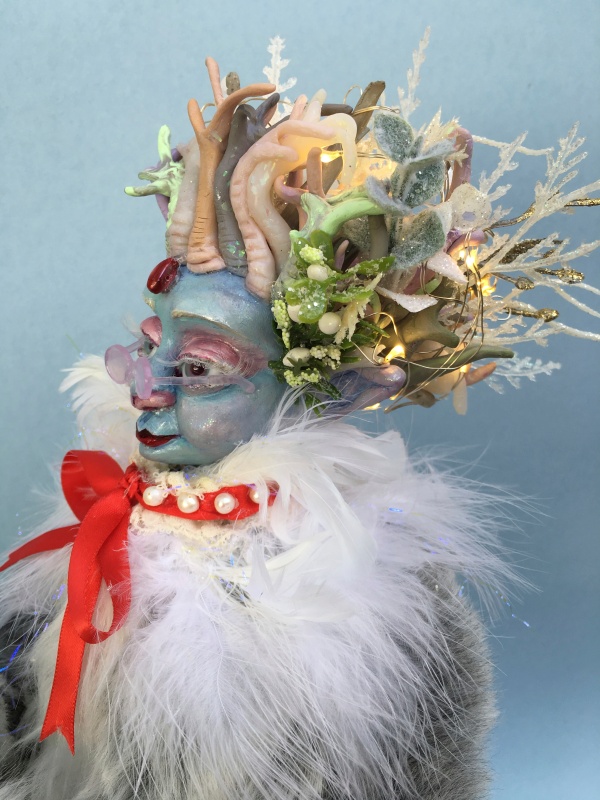
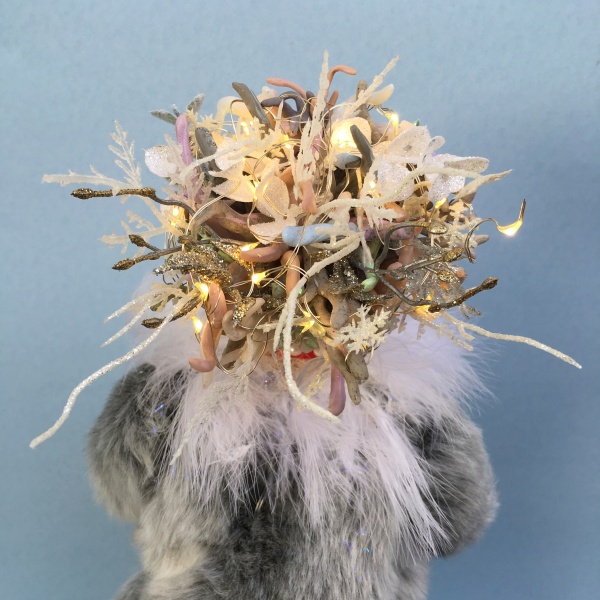
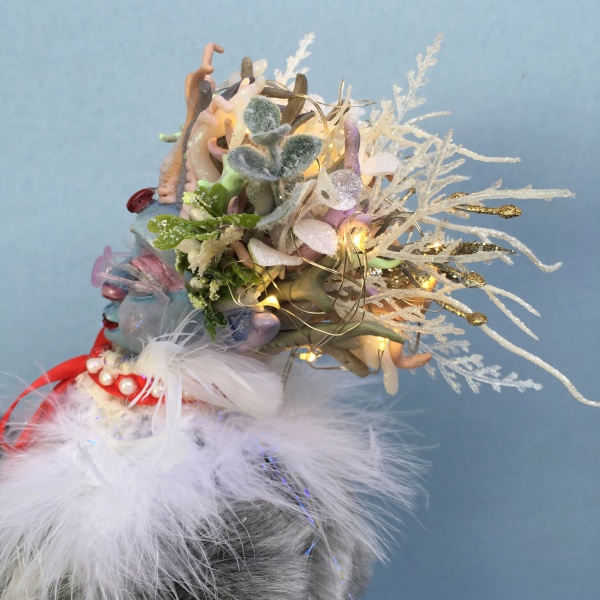
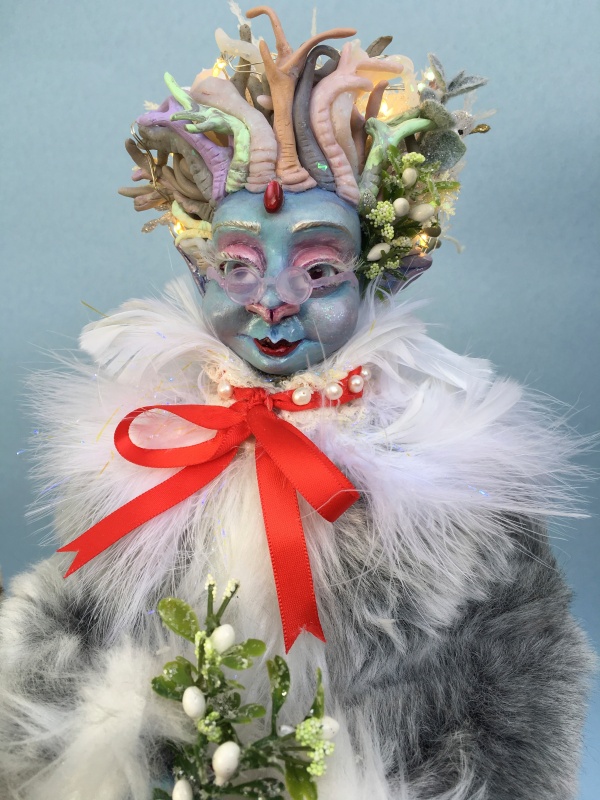

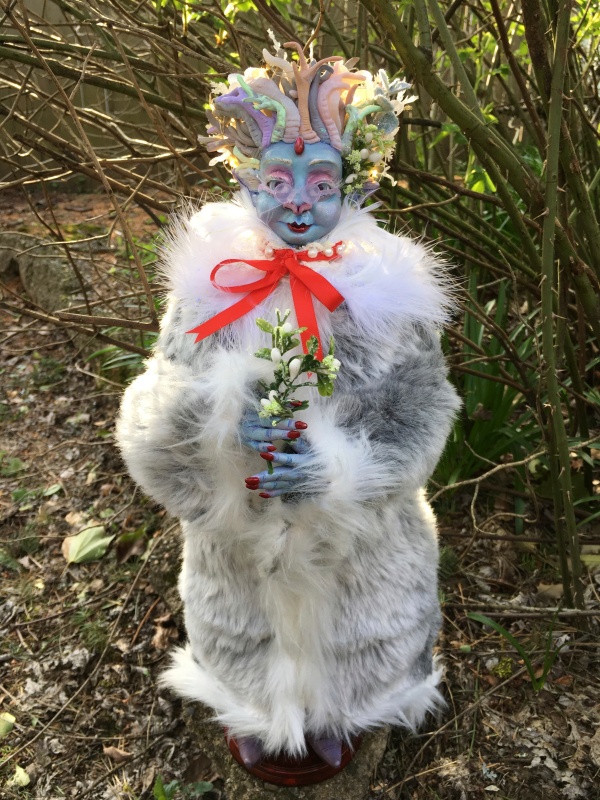
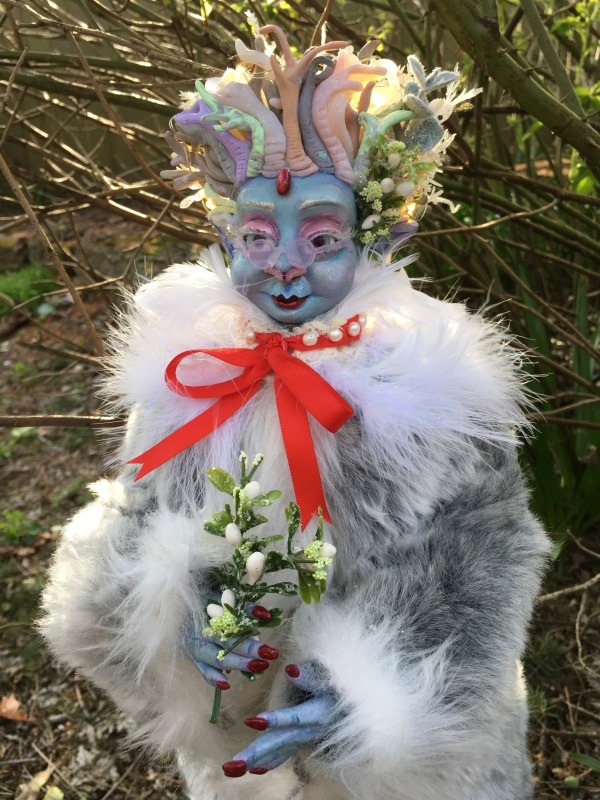

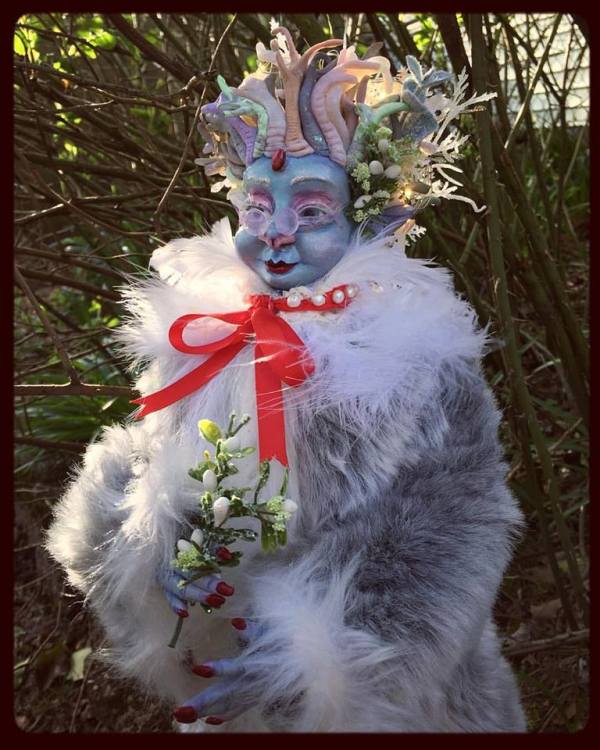

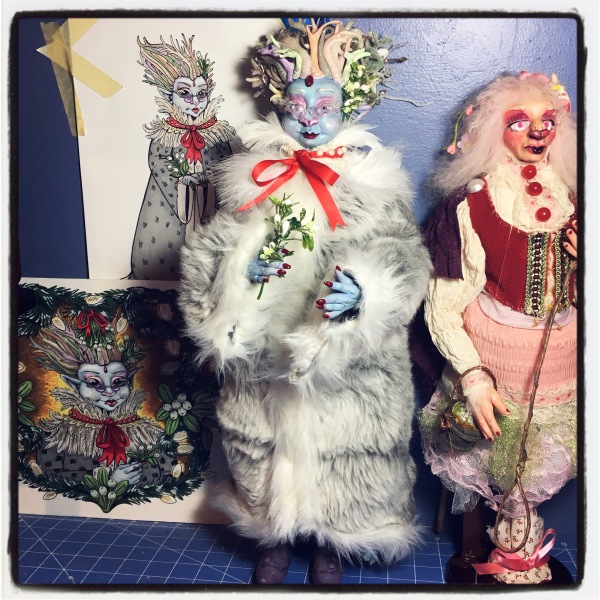 I didn’t have any mini mistletoe on hand, so I actually custom-made this for her by combining three different kinds of artificial plants together; the frosted heart-shaped leaves from one, the white berries from another, and the little yellow clusters from the third. I twisted it all together in a tiny bouquet to hide the drops of glue.